Nintex Robotic Process Automation (RPA) is the fastest time-to-value RPA solution on the market providing easy-to-use tools that automate tasks in hours and days rather than weeks and months
We can train Nintex RPA to handle a wide variety of tasks, including:
- Entering data into a desktop or browser application.
- Moving data between separate applications.
- Locating and updating information in your business systems.
Nintex RPA interacts with applications the same way a person would. By using the keyboard and mouse to interact with an application and hence the Botflows are utilized in many different aspects of Business-like Sales, HR, IT and so on
Botflows
A Botflow is a single file having a .rpa file extension. An example of a Botflow file name is MyBotflow.rpa.
Before you can begin using Nintex RPA, you must create a new Botflow to store and save all your work. Because Botflows are portable, you can run them on any computer with Nintex RPA installed if the target application is the same.
Let’s begin our Botflow
The purpose of our Botflow is to Transfer Data from external data sources like excel to the SharePoint platform. The process can be challenging given the environment and its dependencies.
By using the Foxtrot RPA tool, we can create Bot Processes or Botflows to make the intended purpose a lot of Time Saving and a Botflow which need not much attention on the transfer of data, time to time.Below is an example of the Process to Transfer all the data from an Excel sheet as new Items in SharePoint site using Foxtrot RPA:
Steps are as given below:
1. We will start with Creating a Botflow in Nintex RPA :
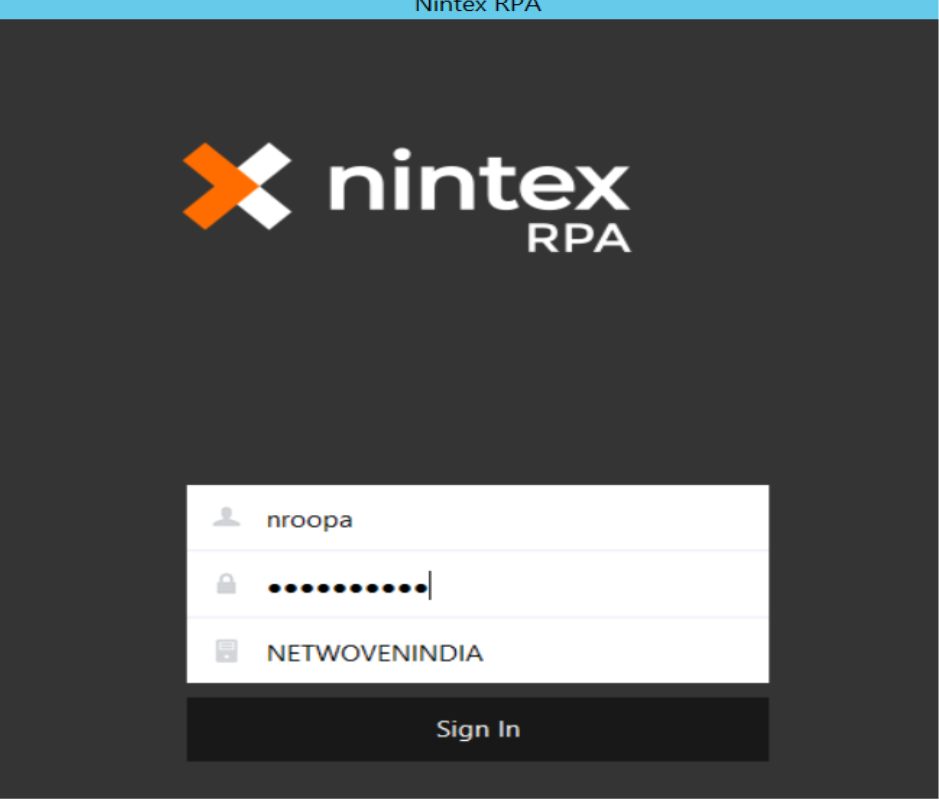
- a. Go to Nintex RPA and Login with your Credentials:

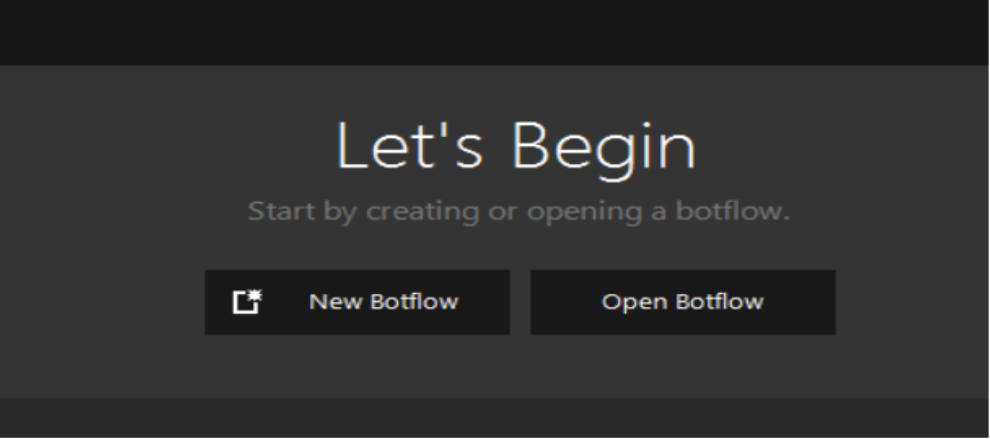
- b. Click on New Botflow:

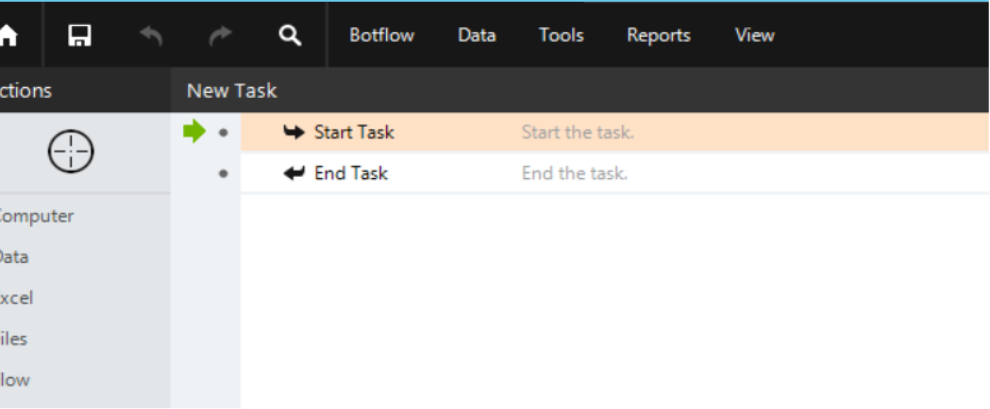
- c. And we can see the New Botflow screen to create a series of Steps as per our requirement:

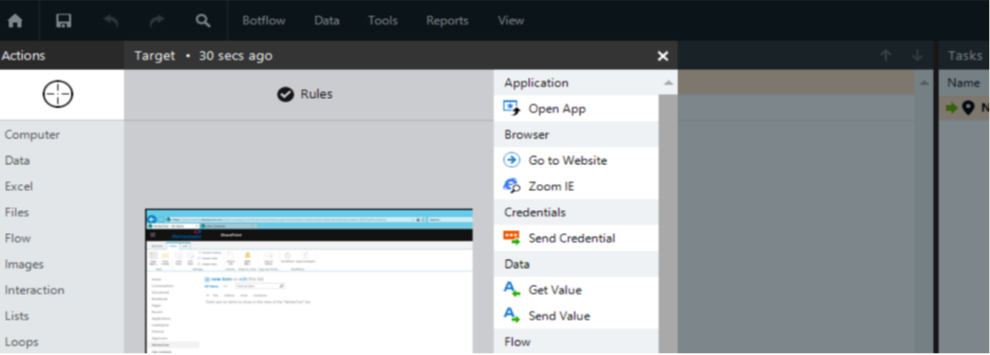
- d. We can connect to SharePoint site by first pointing the Target to IE where the site is open and create the action – Go to Website

- e. We can provide the Exact URL to the SharePoint List and Select whether to Launch a browser again or not:

2. Connection to Excel:
Connect to an Excel Source by drag and Point the Target to an Excel Sheet and click on ‘Open App’ Action:
Sample Excel:

We can Choose to Launch the Excel Application again or not:
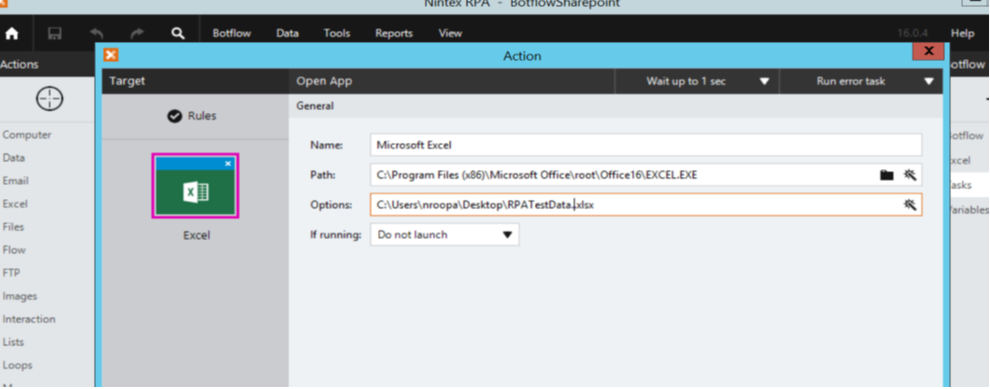
Now the Connections to Excel and SharePoint are established successfully.
We can create variables in Nintex RPA Botflow by clicking on Data tab in the left Actions Menu and Select: Create Variable
For creating Variables in Nintex RPA, Please refer to the steps provided in this link: https://help.nintex.com/en-us/rpa/Actions/Create_Variable.htm?Highlight=create%20variable
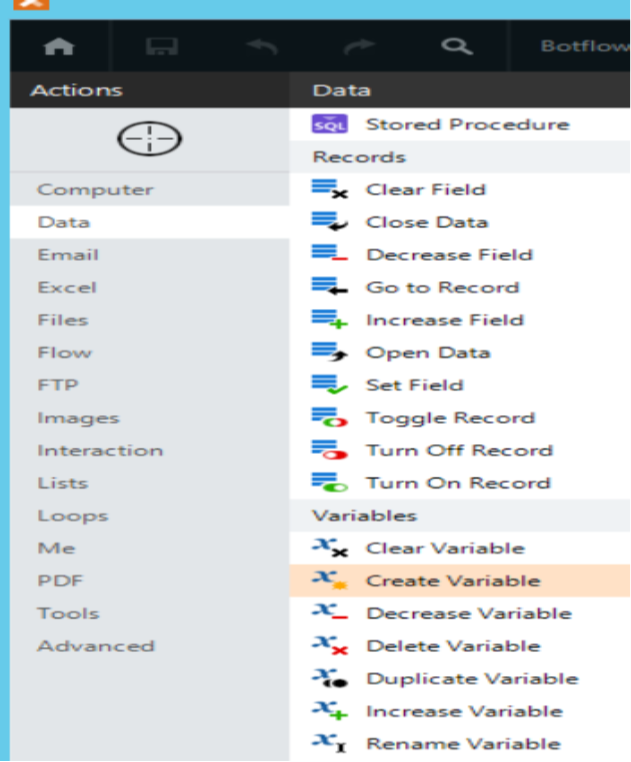
Variables can be created to store each Cell data in the Excel and the Same can be used to send data to SharePoint Site.
Example:
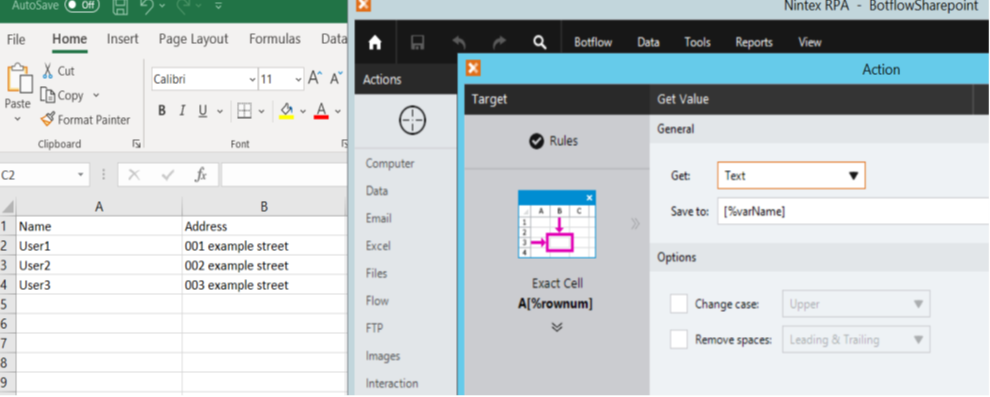
The Flow is next generated with a series of Get Values from Excel and Send Values in a loop to the SharePoint site until a condition where all the data has been successfully Transferred
The Series of actions are shown as below:
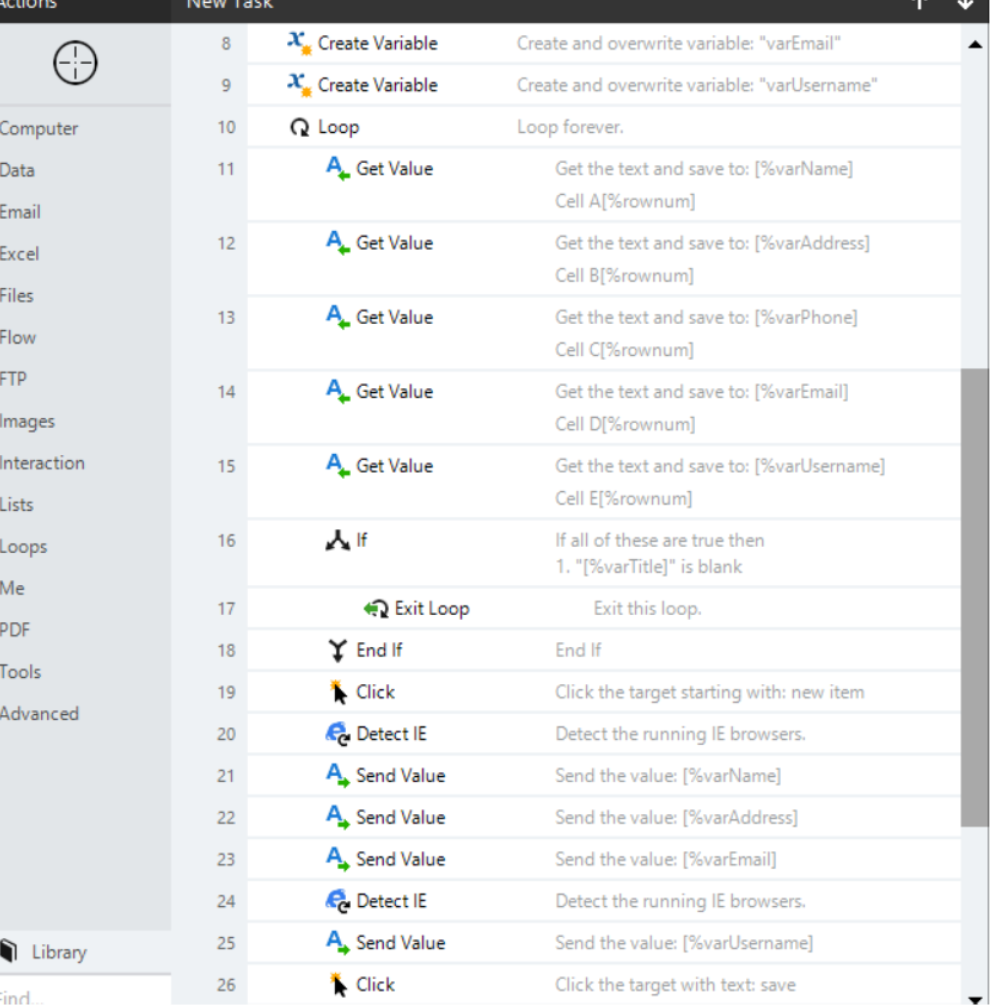
After the Actions are Completed, we can Set the Botflow to Run a specific number of times or Provide a Condition where the Loop must End
In this example the Botflow will end when the Variable Name has no value, which means there are no more data in Excel to be created in SharePoint. Until there is data, new Items will be created in the SharePoint site.
Please refer to the below link to learn more on Nintex RPA

