Introduction:
In Blog 1 of this series, Security Assessment and Solutioning with Microsoft 365 Security and Compliance Center- Part 1, we went through in detail about Microsoft 365 Security and Compliance center OOTB reports and what are the potential solutions that may be evolved after analyzing those reports, indicating the current security posture of the enterprise.
In Blog 2, Security Assessment and Solutioning with Microsoft 365 Security and Compliance Center- Part 2, we saw the importance of auto-labeling and how to create a solution to enable auto-classification and auto-labeling in Microsoft 365 environment to secure the different resources in the cloud environment.
In the final blog of the series, we will explore how rule types are chosen and how to choose common rules and advanced rules once you get the workloads where you want to enable auto-labeling.
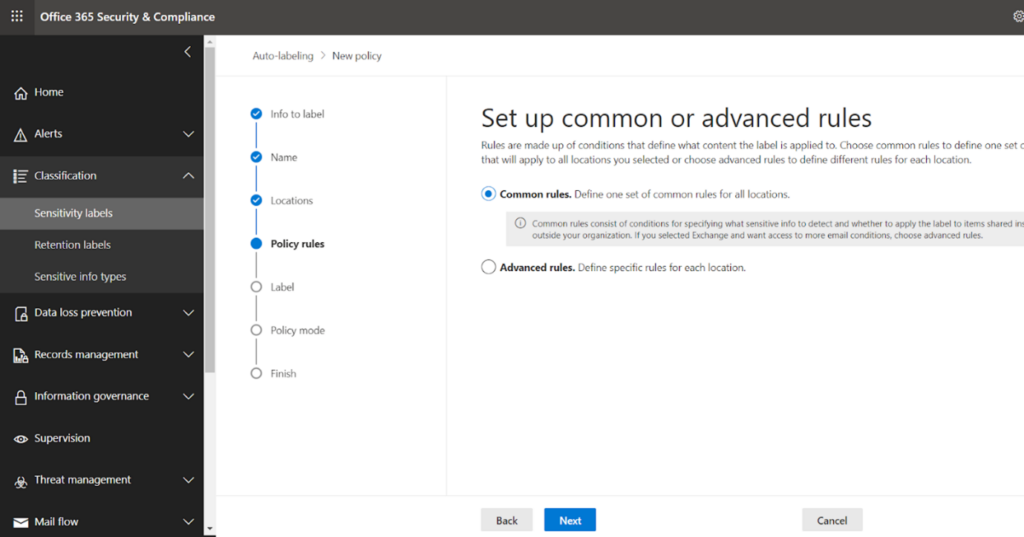
On the workload page, the rule types must be chosen. You can go with common rules for most common scenarios, but if your assessment is that more advanced level rules are required, then you can opt for advanced rules.
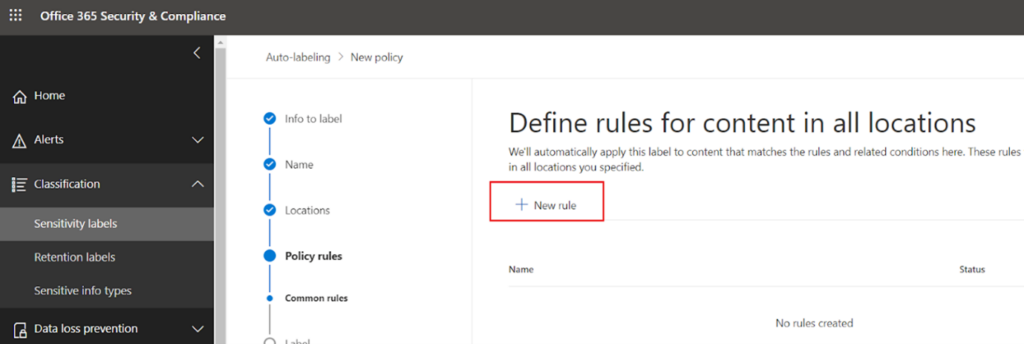
Click on next and go for the new rule.
Name your rule and select the condition.
There are two options available here:
- Content contains sensitive info types
- Content is shared
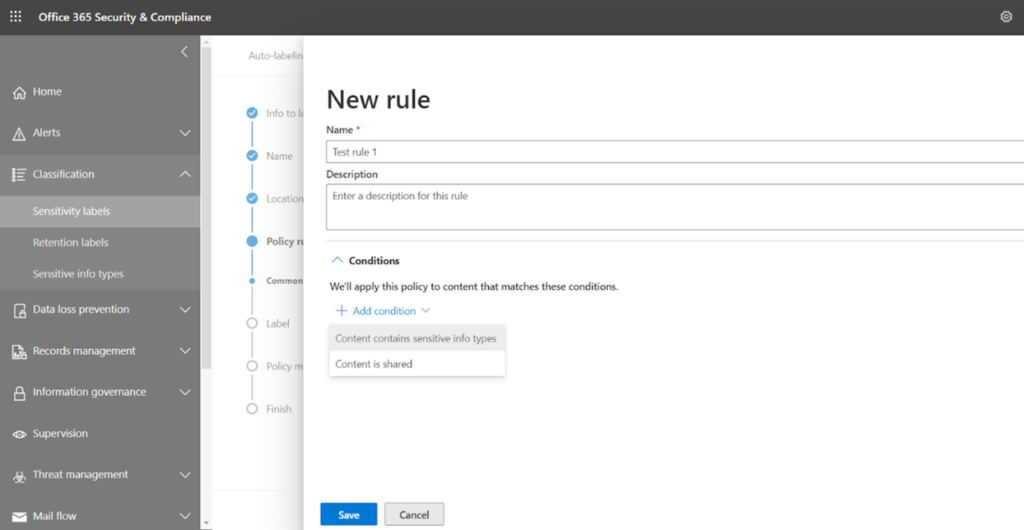
We will go with the first option ‘Content contains sensitive info types’
You may also like: Learn how to proactively identify and protect your sensitive information
At this stage, you can go with various default sensitive types provided by Microsoft, or if you have created custom sensitive info types, then search it in the box and select that.
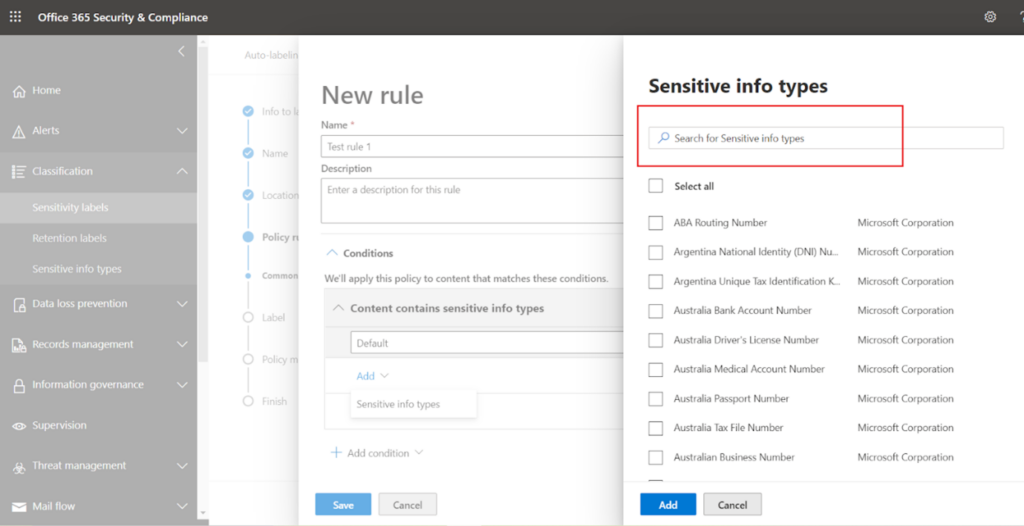
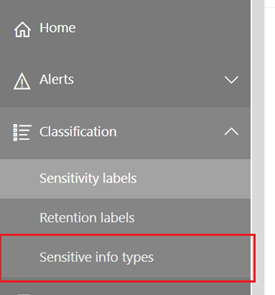
I have chosen one custom sensitive info type and saved it. You can explore the existing sensitive info types or can create your type from the left navigation option ‘Sensitive info types’.
Now Save the rule.
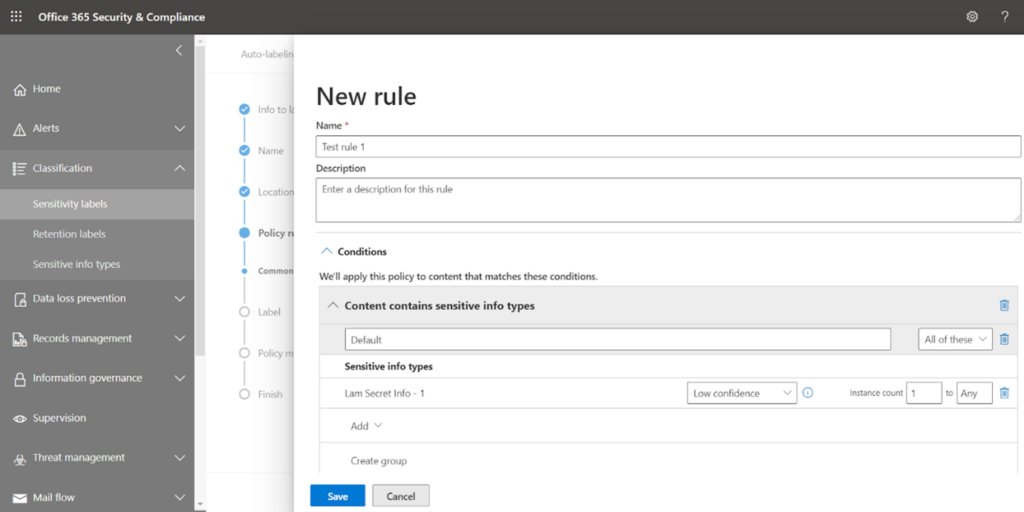
Next, once you have saved the rule then it will look like this-
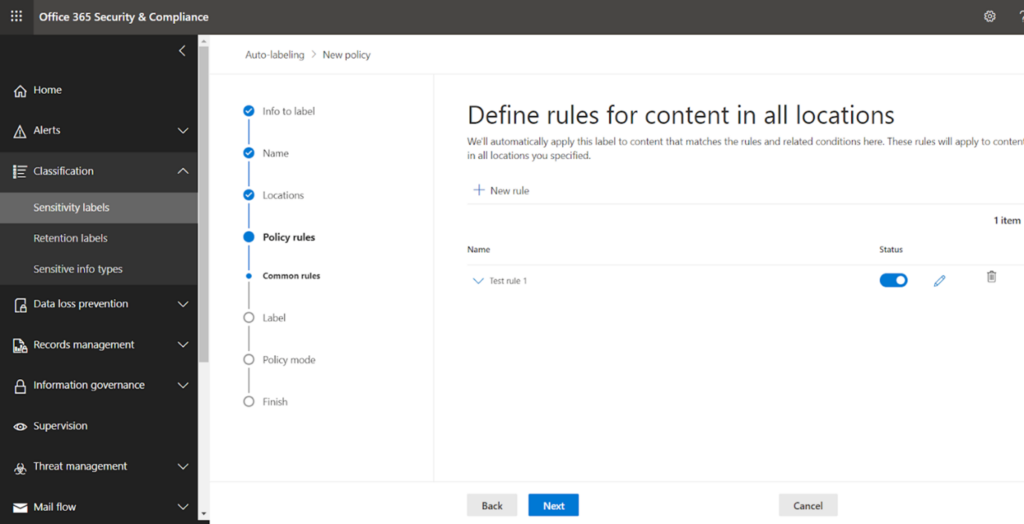
Proceed to next.
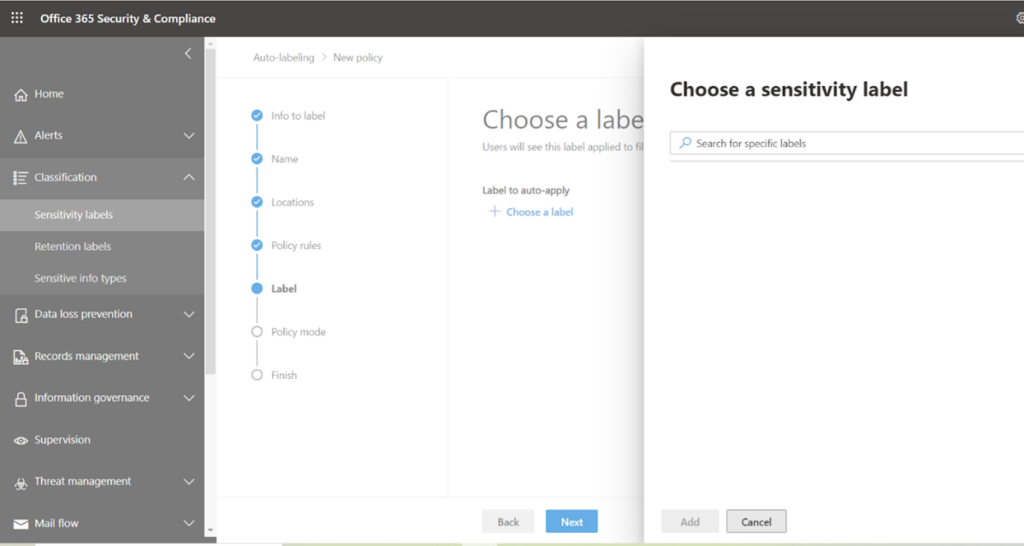
Now you must ascertain which sensitivity label should be auto-applied when such sensitive types are detected on the chosen SharePoint site. Search the appropriate label and select it.
I have selected ‘Internal Only’, so when my sensitive info gets matched on the contents of that site, this label is going to be applied.
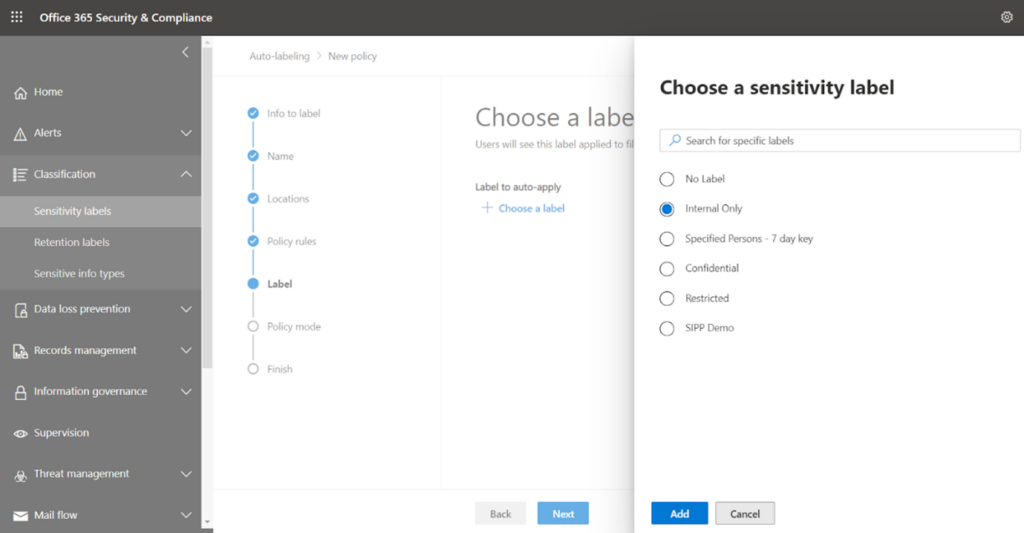
Add and proceed to the next screen.
Select the default settings and proceed next.

At the final stage, review all the settings and click on create policy.
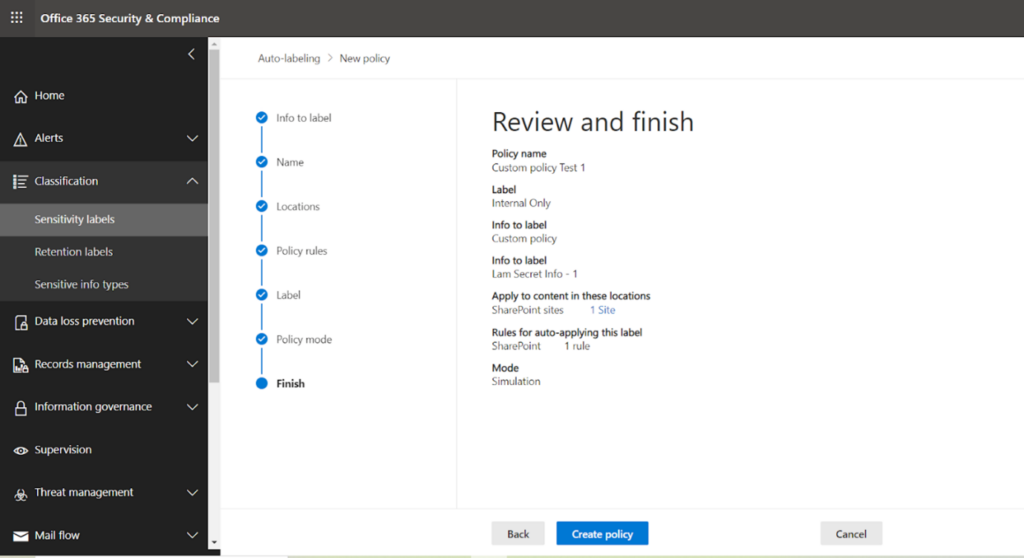
Your policy is created now. Please note it can take up to 24 hours to reflect the action defined in the policy.
Explore Automated Solution
You can explore exchange PowerShell modules, which have different commands to automate the above-described manual steps. Visit the official documentation page for details:
Set-AutoSensitivityLabelPolicy -Identity “Custom Rule test 1” -AddSharePointLocation “https://myurl1” -Mode TestWithoutNotifications -ApplySensitivityLabel “Internal Only”
This example creates an auto label policy named “Custom Rule test 1” for the specified SharePoint Online site with the label “Internal Only”.
Final Thoughts
Though we have seen how powerful and elegant the auto-labeling solution can be, it is essential to be aware of some of its disadvantages-
- This auto-labeling has some lack of precision, so classifying contents based on mere sensitive types sometimes can lead to inaccurate results. It may be possible to get false positive or false negative results in terms of documents having a particular label.
- License-wise, you should have either Microsoft 365 E5 or Azure Information Protection P2. These capabilities are only included in the above-mentioned subscriptions.
- Auto-labeling will only work on MS Office files, not .pdf or some other file formats.
- If you apply ‘Manual Label Applied’, it will never be replaced with auto-labeling. Though automatic labeling can overwrite the default sensitivity label if you have set that in the label policy.
To learn more about Netwoven’s information protection and compliance capabilities, read our datasheet.
Learn how Netwoven’s solution can proactively identify and protect your sensitive data download our Solution Brief.