In this blog I will describe how we can configure Load testing using the Visual studio 2010 Ultimate edition.
Steps
Step 1: Identify or create a web application, for which you want to perform a Load test. Here I have created a simple web application, with Login and Logout controls.


Step 2: I created a Test project with name LoadTestProject. Now in the first place i will add a Test file to this project. When you click “Add New”, VS will present you with lot of options. Here we need to select a “Web Performance Test” for this scenario. I named it as “SingleUserPerfTest”.

Step 3: Once you click Add, you will be presented with a explorer window with recording infrastructure. All you need to do is, click the “Start Record” button and perform what are all actions/browse through pages you want to test.

Step 4: Once you are done with all the stuff, click on Stop button. Visual studio will convert all the recorded steps into code, embedded into .webtest file.

You can expand the nodes and see what all actions are recorded, and what are the requests/responses generated during our webtest.

You can run this test by clicking the Left-Top button, but this will be equal to our unit test. We haven’t tested the response of application under load.
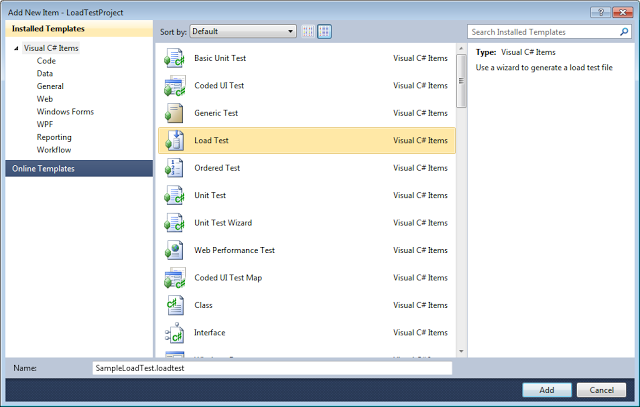
Step 5: Now Add new test file to project. This time select a Load Test file from the menu. I named it as “SampleLoadTest”.
Once you click Add button, you will be presented with a wizard, using which you will configure the Load test.
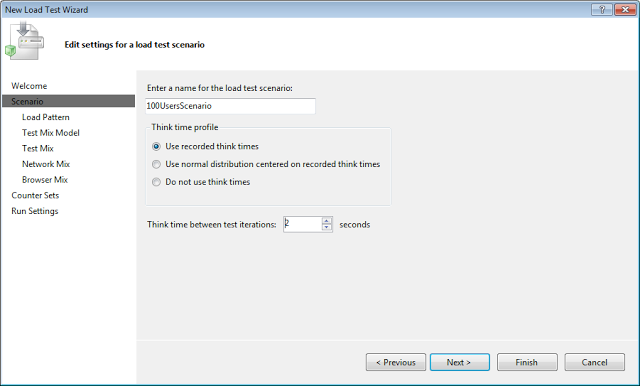
Step 6: As a first step, we will name the scenario, and will setup think time for the profiles. In the real time scenario, the users will take 1 to 3 seconds between performing one action after another, either due to reading webpage or thinking. This delay will be created while load test using “Think Time” specified below.
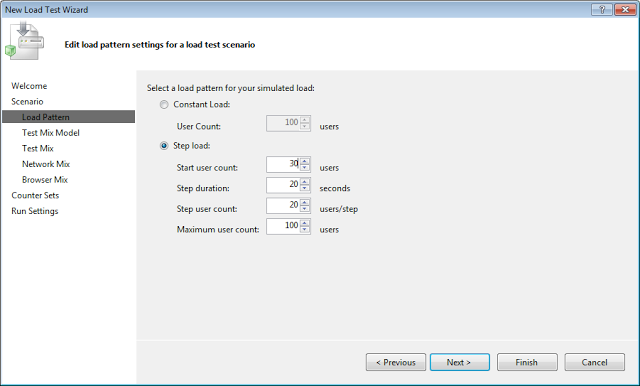
Step 7: In next step you will be selecting the load pattern. Whether you want to apply a constant load or increase the load in a cumulative way. These variables can be configured here.
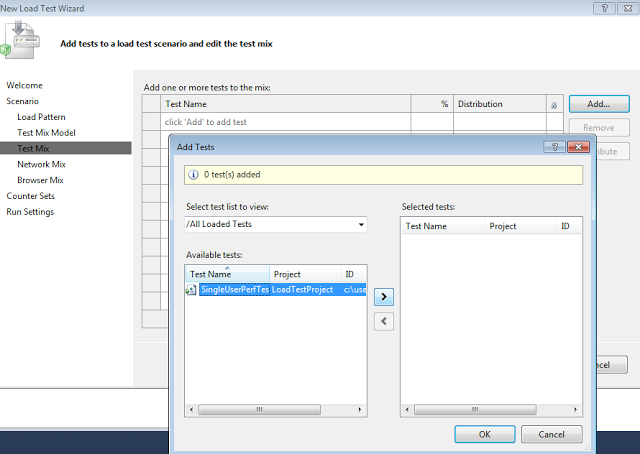
Step 8: Now, you have to select the Individual webtest(s) you have created earlier, which need to be considered under this load test.
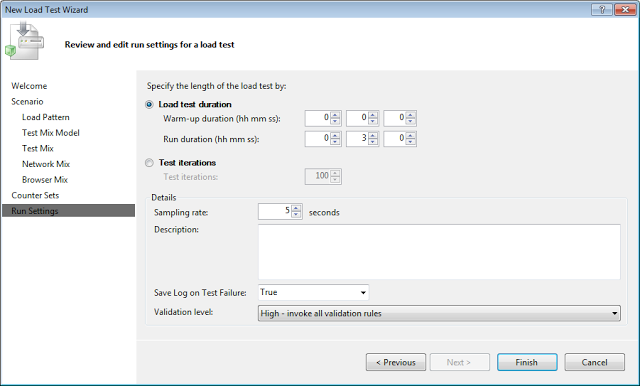
Step 9: Here you can select either for how much time you want to run the test, or how many iterations of test you want to perform.
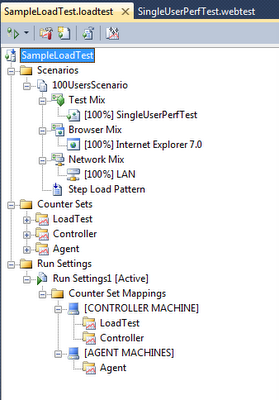
Step 10: Once you click “Finish” button, all the configuration will be embedded in to the Load test file. You can click on each specific step/ configuration, and can modify the values in property window.
Step 11: We are all set now. Click the “Run Test” button on Top-Left corner and see what happens.
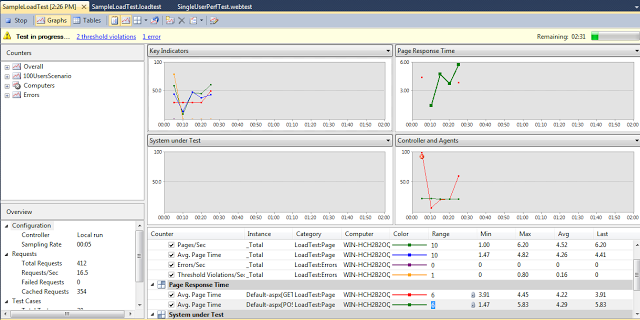
All the key factors will be presented graphically while performing the load test. We can figure-out different factors and their variation patterns under load conditions.
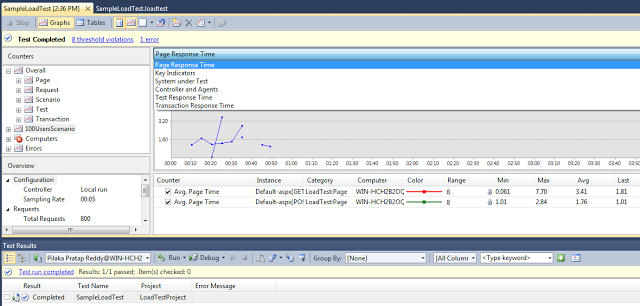
Finally after completion of test, a test result document will be created using which you can analyze what are the stress factors where we need the performance tuning.
These test results can also be stored into database by configuring the controller connection string. For further details on how to store test results Using SQL please follow the MSDN link below.
http://msdn.microsoft.com/en-us/library/ms182600.aspx
You can also download Sample Codes from: Sample Load Test Project


