
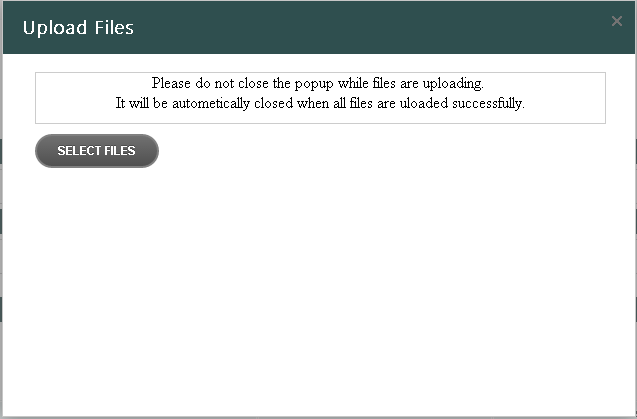
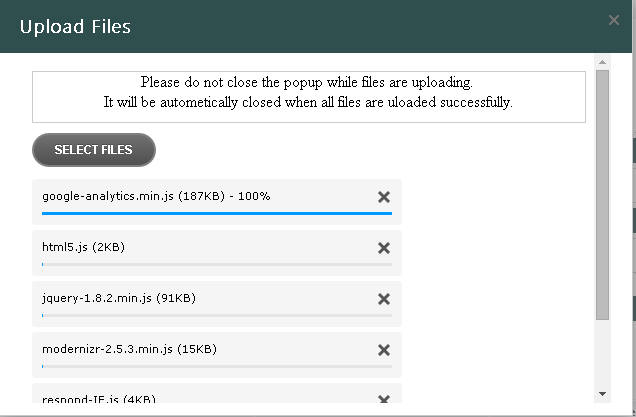
We can create a multiple file upload tool with progress bar using jQuery. It is fully customizable and also helps us to update the metadata at the same time. Best part is that it is not involved in any page load and it helps to understand how long it will take to upload large files.
Prerequisites
1) Go to http://www.uploadify.com/ and download the free flash version. We can also use HTML5 version but it involves some license.
2) Visual Studio 2012
Detailed Method
1) Create a SharePoint 2013 Empty project and give it a proper name.
2) Add new item and add a visual webpart with a proper name.
3) Create a mapped “layout” folder for this project.
4) Now copy all the files downloaded from uploadify and paste it to our layout mapped folder.
5) Now in the user control page copy the below code with some modification of your project folder.
<link rel="stylesheet" type="text/css" href="/_layouts/15/{mapped_folder_name}/uploadify/uploadify-new.css">

<script type="text/javascript" src="https://code.jquery.com/jquery-1.10.2.min.js"></script>

<script type="text/javascript" src="/_layouts/15/{mapped_folder_name}/uploadify/jquery.uploadify.js"></script>
6) Now create the script for upladify functionality
<script type="text/javascript">

$(function () {

$("input[id*='fuMiltiFileUpload']").uploadify({

'formData': { 'strSiteURL': '', 'strLibraryName': '', 'strMetadata': '' },

'height': 30,

'swf': ' /_layouts/15/{mapped_folder_name}/uploadify/uploadify.swf',

'uploader': '/_vti_bin/anonsvc/{project_folder_name}/Upload.ashx',

'width': 120,

'onFallback': function () {

//alert('Flash was not detected.');      if flash is not installed in the browser

},

'onUploadError': function (file, errorCode, errorMsg, errorString) {

alert('The file - ' + file.name + ' - could not be uploaded: ' + errorString);

},

'onQueueComplete': function (queueData) {

//Can do whatever we want to do after all the files uploaded successfully.

}

});

});

</script>

<asp:FileUpload ID="fuMiltiFileUpload" runat="server" />
7) Look into the “Uploader” path given into the above script.
8) Here we kept the code file under “anonSVC” . “/_vti_bin/anonsvc/{project_folder_name}/Upload.ashx”. Because when the files are posted from a SharePoint page and trying to access our uploader script there is and authentication issue. So we will keep our uploader script under annosvc folder to access it anonymously.
9) This Upload.ashx is nothing but a generic handler which has all the codes to upload files on a specific “List/Library”.
How to create a generic handler in SharePoint
1) Create a SharePoint mapped folder and under “ISAPI > annonsvc” create a folder for this project.
2) Add new item and create a general text file with “.txt” extension.
3) Now rename it and give it a name as “Upload.ashx”.
4) Now open the Upload.ashx file and paste the below code
<%@ Assembly Name="Microsoft.SharePoint, Version=15.0.0.0, Culture=neutral, PublicKeyToken=71e9bce111e9429c" %>

<%@ WebHandler Language="C#" Class="Upload" %>

using System;

using System.Web;

using Microsoft.SharePoint;

publicclassUpload : IHttpHandler

{

///<summary>

/// You will need to configure this handler in the Web.config file of your

/// web and register it with IIS before being able to use it. For more information

/// see the following link: http://go.microsoft.com/?linkid=8101007

///</summary>

///

#region IHttpHandler Members

publicbool IsReusable

{

// Return false in case your Managed Handler cannot be reused for another request.

// Usually this would be false in case you have some state information preserved per request.

get { returntrue; }

}

publicvoid ProcessRequest(HttpContext context)

{

string strSiteUrl = context.Request["strSiteURL"];

SPSecurity.RunWithElevatedPrivileges(delegate()

{

using (SPSite site = newSPSite(strSiteUrl))

{

using (SPWeb web = site.OpenWeb())

{

}

}

});

}

#endregion

}
5) Under “ProcessRequest” method we can write our own upload code.
6) In the script we can pass our own data as a Jason format under ‘formData’ property and we can access those value in handler file under context.Request[“”] parameter.
7) As we are accessing this handler file anonymously we are using SPSecurity.RunWithElevatedPrivileges(delegate() to open the web.
Deploy and add this webpart under project
1) Deploy the webpart using visual studio or PowerShell.
2) Open the site in SharePoint designer.
3) Create a normal aspx page under “SitePages” library. Open the page on Advance edit mode and add the specific webpart using SharePoint designer.
4) Run the page in browser and try to upload some files.
Debug the generic handler
1) Run the handler page in the browser with its full path and see if there is any error. http(s)://{site-url}/_vti_bin/annonsvc/{project_folder_name}/Upload.ashx
2) We can also attaché this file with “w3wp.exe” process to debug.
Note: If you are unable to see the flash upload button please add the MIMEtype to your SharePoint site using the below PowerShell command.
Write-Host”This script will check if a particular MIME Type is excluded from the AllowedInlineDownloadedMimeTypes list when STRICT Browser File Handling Permissions are set on the Web
Application"-foregroundcolorDarkcyan

$webAppRequest= Read-Host"What is the name of your Web Application? i.e. http://<serverName>"

$webApp= Get-SPWebApplication$webAppRequest

$mimeType= Read-Host"Which MIME Type would you like to confirm is included in the AllowedInlineDownloadedMimeTypes list for $webApp ? i.e. application/pdf"

If($webApp.AllowedInlineDownloadedMimeTypes -notcontains"$mimeType")

{

write-host"$mimeType does not exist in the AllowedInlineDownloadedMimeTypes list"-foregroundcolorYellow

$addResponse= Read-Host"Would you like to add it? (Yes/No)"

if($addResponse-contains"Yes")

{

$webApp.AllowedInlineDownloadedMimeTypes.Add("$mimeType")

$webApp.Update()

Write-Host"The MIME Type ' $mimeType ' has now been added"-foregroundcolorGreen

$iisresponse= Read-Host"This change requires an IIS Restart to take affect, do you want to RESET IIS now (Yes/No)"

if($iisResponse-contains"Yes")

{

IISRESET

Write-Host"IIS has now been reset"-foregroundcolorGreen

}

else

{

Write-Host"IIS has not been reset, please execute the IISRESET command at a later time"-foregroundcolorYellow

}

}

else

{

Write-Host"The MIME Type ' $mimeType ' was not added"-foregroundcolorRed

}

}

else

{

Write-Host"The MIME Type ' $mimeType ' already exists in the AllowedInlineDownloadedMimeTypes list for this Web Application"-foregroundcolorYellow

}

To run the above script you will need to copy it into Notepad and then save it with a filename like strictMimeType.ps1. Once saved you can run it from a PowerShell window like so.

#Use the cd command to navigate to the folder it is in

cd C:powerShellScripts

#Once you type in'.' you can press tab to cycle through files in this location

.strictMimeType.ps1

MIMEType for flash is “application/x-shockwave-flash”


Hi Ojha,
I have bee looking for this information such a log time and finally found this. Really I’m very great full to you.
Thanks
Hire SharePoint
how to upload multiple files for a SharePoint list row
Please send the target item ID under “fromdata” of the above mentioned JS file. Then in the generic handler page try to get that item using
SPList list = (SPList)web.Lists[“Your_List_Name”];
SPLisItem item = list.GetItemById([Item_Id]);
Now attach files using below code
item.Attachments.Add([#File_Name#], byte[] Contents);
web.AllowUnsafeUpdates = true;
item.Update();
web.AllowUnsafeUpdates = false;
Let me know if this will work for you.
hi
can you add same solution but with out uploadify ?
and can you provide complete solution or or wsp it will make our life easier 🙂
I am not a programmer myself but i keep trying to see if i can do it. however it’s been hopeless for me. Is there somewhere i can download the project itself to see how it is done?
Thanks in advance.