Moving to Windows Azure / Office 365 Directory Sync to a different Office 365 Subscription for the same domain
In my endeavor of setting up / planning office 365 migration, we always start with a trial subscription and finally when the preparation goes as planned, we realize that the trial setup is not good enough to be a production. Hence with the same setup we must migrate the dirsync to a different subscription to start all over again. Here are some steps that can be followed to achieve this.
A. Prepare existing subscription.
1. Deactivate Directory Sync to stop user from On-Premise Active Directory to be synced to Office 365
- Goto Admin Centre Users and Groups
- Select Deactivate option against Active Directory Synchronization
- Confirm Deactivation. This is to stop further synchronization of users to Windows Azure

2. Remove User UPN suffix from office 365 for the deactivated domain. The domain that will be removed needs to be de-associated from all the existing users. This is done by changing all the user’s UPN suffix and change to the default office 365 domain (i.e.yourdomain@onmicrosoft.com)
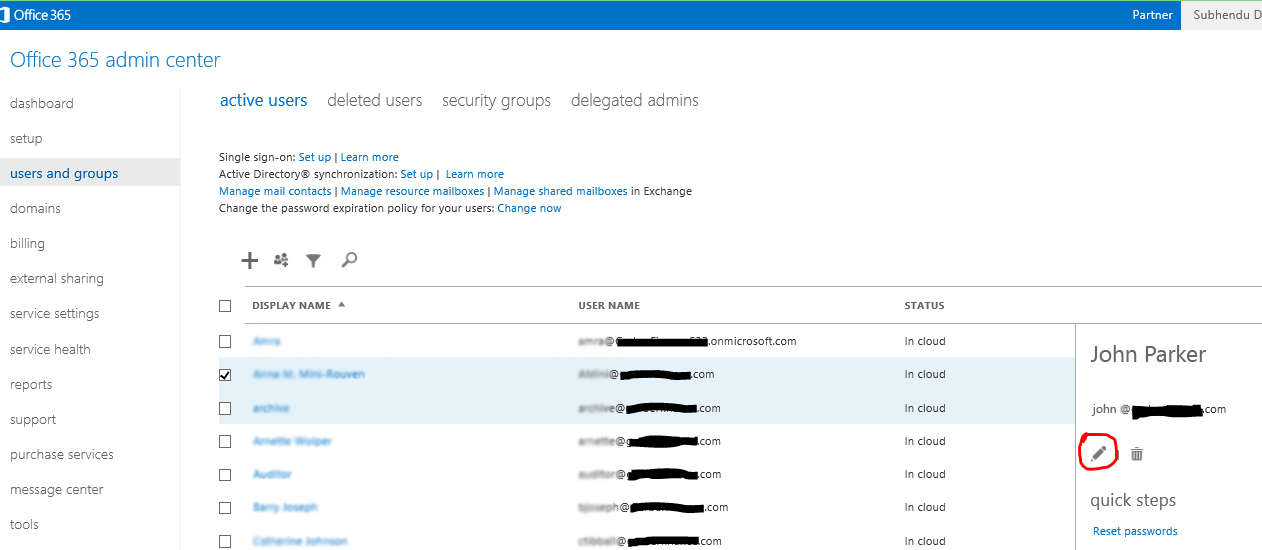
- Goto Admin Centre – Users and Groups
- Select user by check box
- Click on Edit button on right option panel
- If there are multiple users, you can select all users and bulk edit them

- Select the domain drop down box and changed the domain to yourdomain@onmicrosoft.com
- Select the domain drop down box and changed the domain to yourdomain@onmicrosoft.com
- Choose not to change any license assignment or plan
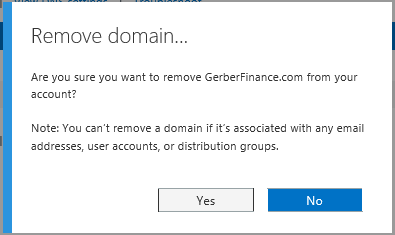
3. Delete the verified domain from the current subscription.
- Goto Admin Centre – Domains


B. Prepare new subscription
- The new subscription should have already come with a free domain like yourdomain@onmicrosoft.com. However you need to add the domain that you have removed from your old subscription into the new subscription. However, before you do that you have to add the necessary dns record with your domain registrant so that office 365 can verify your domain ownership.
- Add the new domain in your Office 365 subscription
- After you add the new domain, office 365 auto detects the domain registrant and will prompt you for confirming ownership. If you have admin access to c-panel of your domain registrant, you can simply click on confirm ownership in the screen shot below and office 365 will automatically add all the necessary dns record to point the domain to Office 365.
- However, in case you do not happen to have domain registrant admin credentials, then you can fetch the manual dns records and pass it on to the admin who can add the dns record in their domain registrant and you can simply confirm the domain from the office 365 admin centre.
- Following are the manual dns records that needs to be added in the domain registrant c-panel.
- The list will give step by step details of all the dns records required. You can also choose your domain registrar from the drop down list.
- Once the dns records are added, you can select confirm ownership.
- On successfully verifying your domain, you should now see your domain active in office 365 admin centre
- Now you are ready to download, install and configure the dirsync tool.
C. Prepare Directory Synchronization for the New Subscription.
- Activate Directory Synchronization in office 365
- Goto to users and groups and select Active Directory synchronization setup and choose ACTIVATE
- Directory synchronization is activated, it should reflect Deactivate
Conclusion
As we delve further into this series, I will be coming up with few articles that we all need sooner or later to tackle office 365 through script. You guessed it right, Windows Azure PowerShell and some quick command reference to perform the most common tasks.


