PostgreSQL is of the most popular open source database around the market for quite some time. Though designed for UNIX/Linux platform, setting up a PostgreSQL for Windows server platform might be a challenge at time.
Here is a simple tutorial to help you get started with creating a Database Server free.
Steps:
- Download GUI installer for PostgreSQL
- Install PostgreSQL GUI
- Connect to Database
- Create a New Database
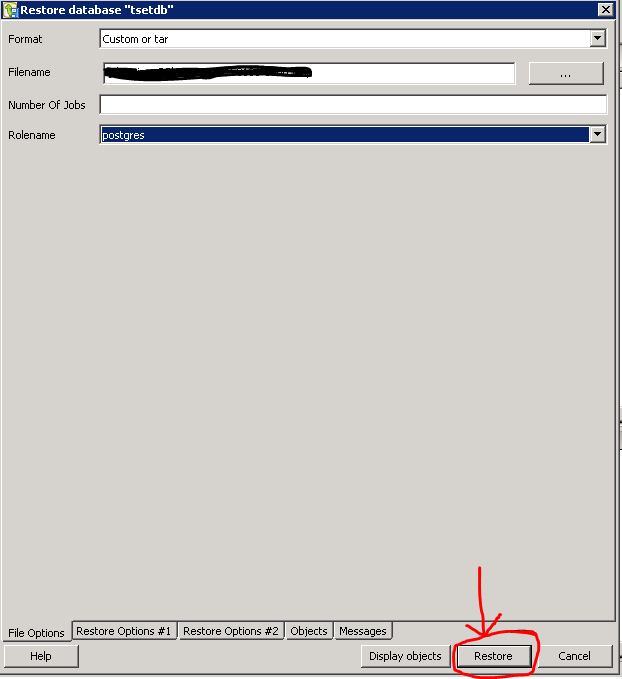
- Restore Database
Download PostgreSQL:
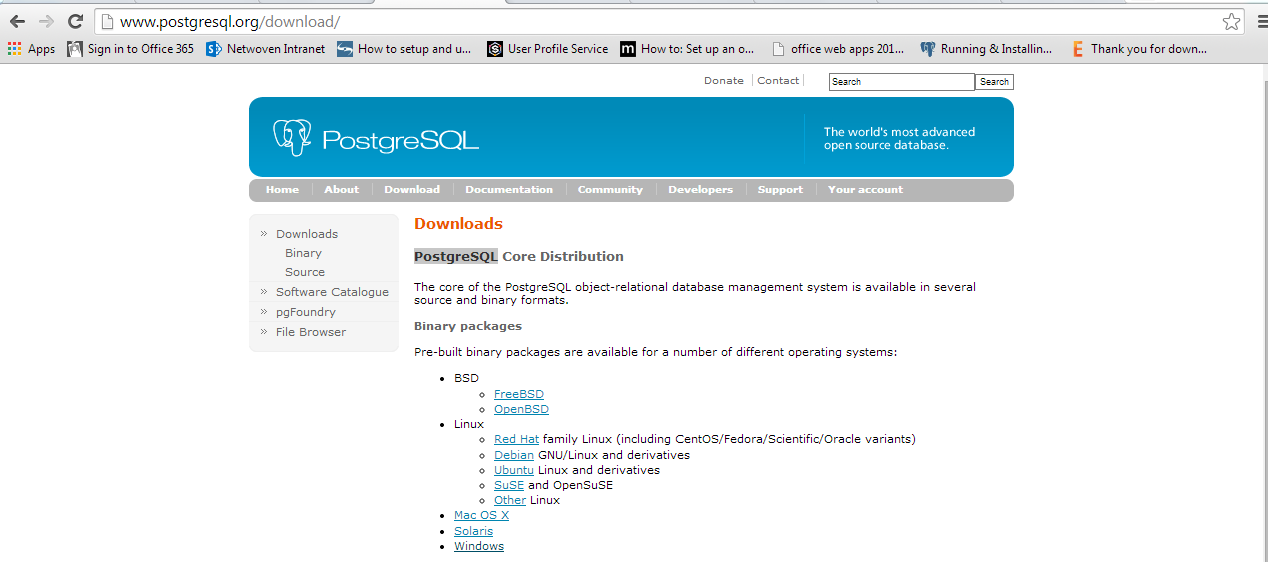
- Go to http://www.postgresql.org/download/
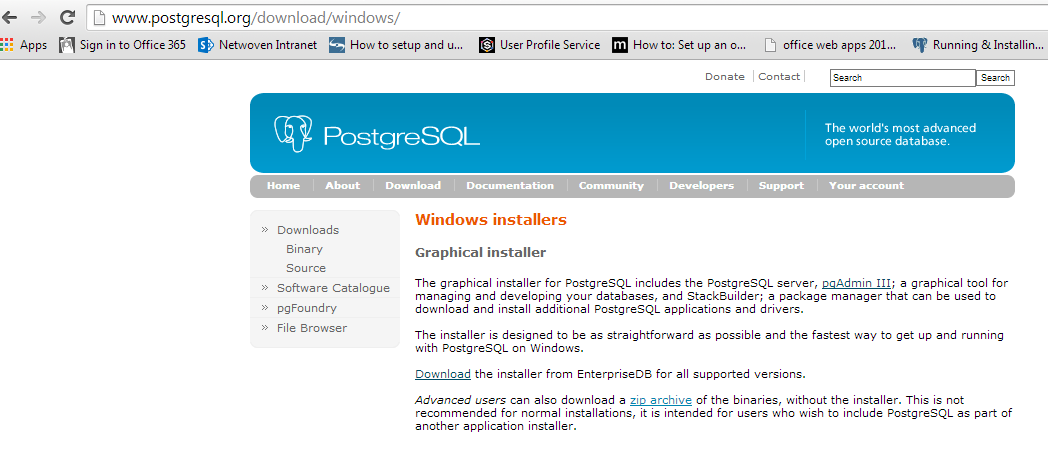
- Click on Windows

- Click on Download the installer from EnterpriseDB for all supported versions

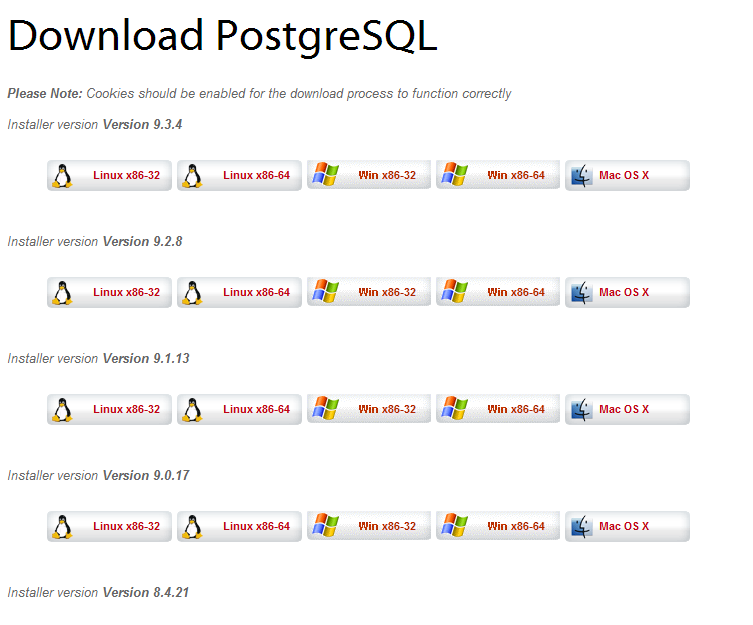
- Chose the correct version you are looking for (here I have considered postgresql-9.3.4-3-windows-x64)

PostgreSQL Installation:
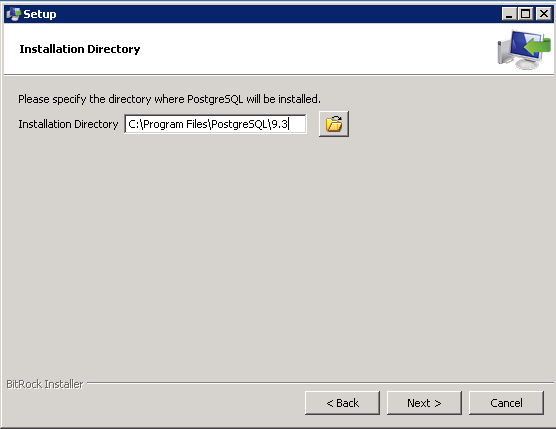
- Chose the installation directory
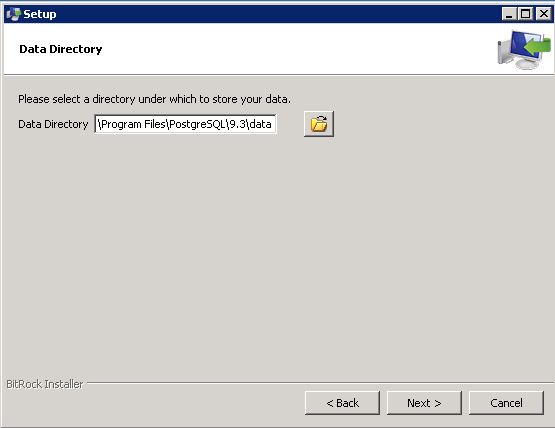
- Chose directory to store data
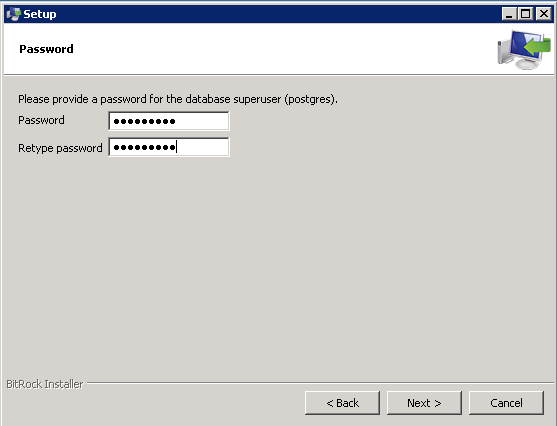
- Specify the password for the database super user and keep it in a safe place, it will be required after installation to connect to database.
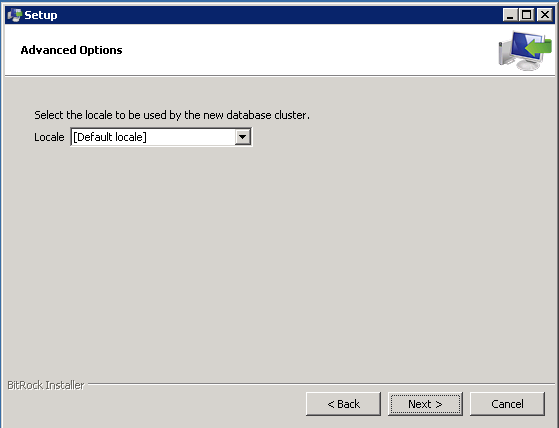
- The default port is 5432. However you can choose your custom port too. By any means if you see that the installer does not show port number 5432 it means that there must be another instance of PostgreSQL already running with port 5432. Choosing a new port here would create a new instance of the database and will run alongside the existing instance.
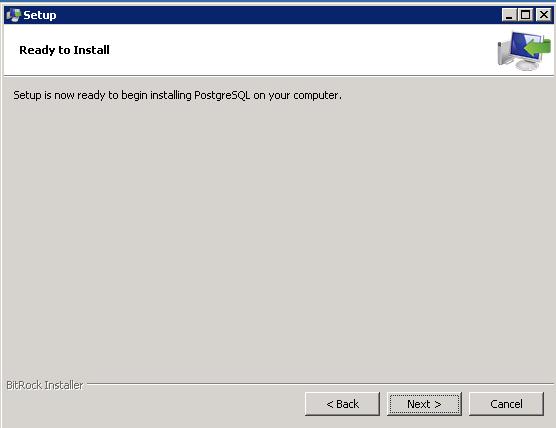
- Now setup is ready for the installation
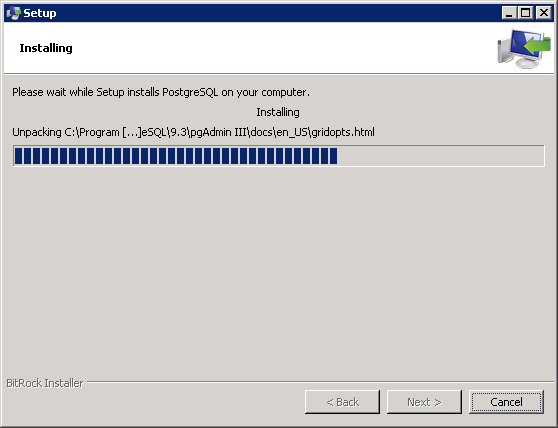
- Installation in progress – wait for it to complete.
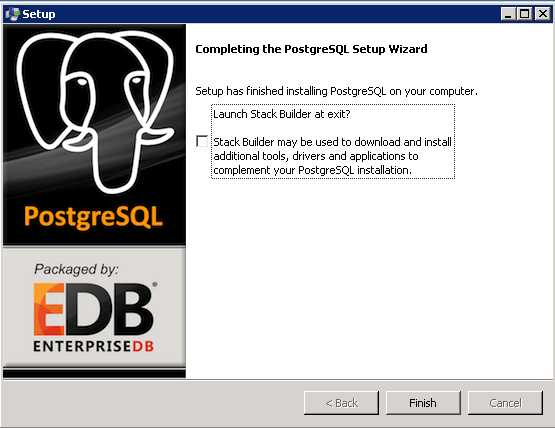
- Uncheck the box for downloading tools and click on finish
Connect to Database:
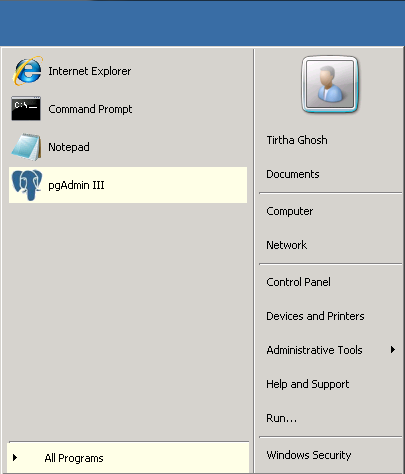
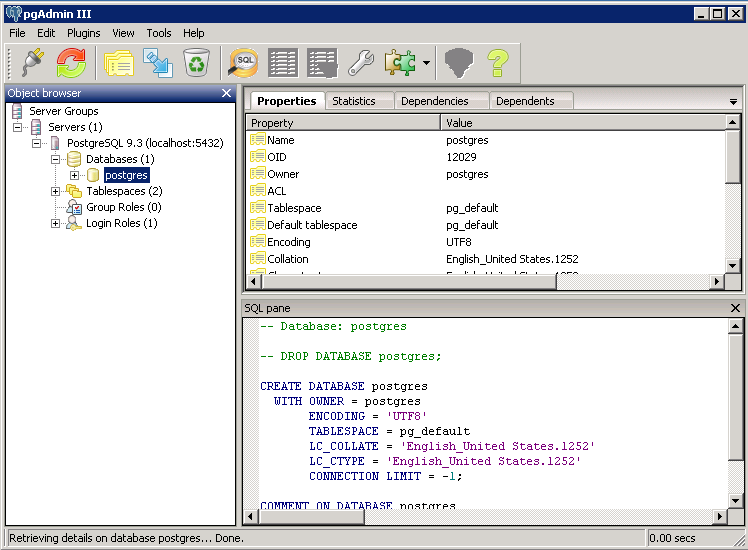
- Go to pgAdmin III
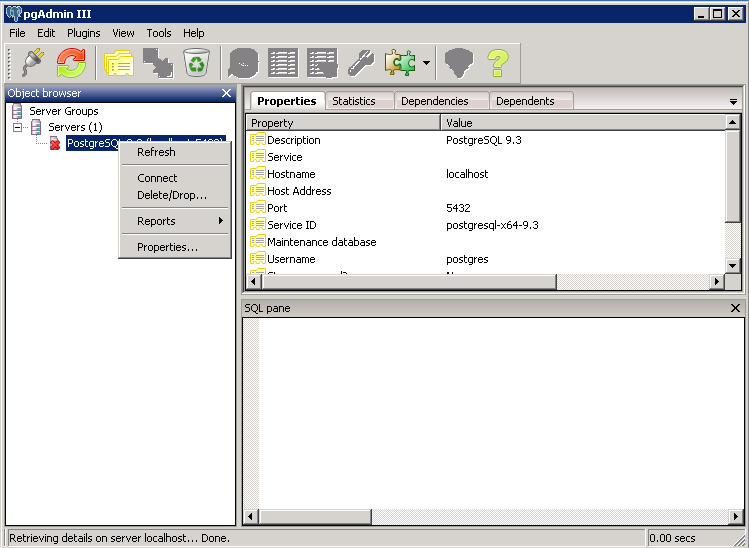
Now right click on database and click on connect
Use the same password which has been used for database super user in the configuration step above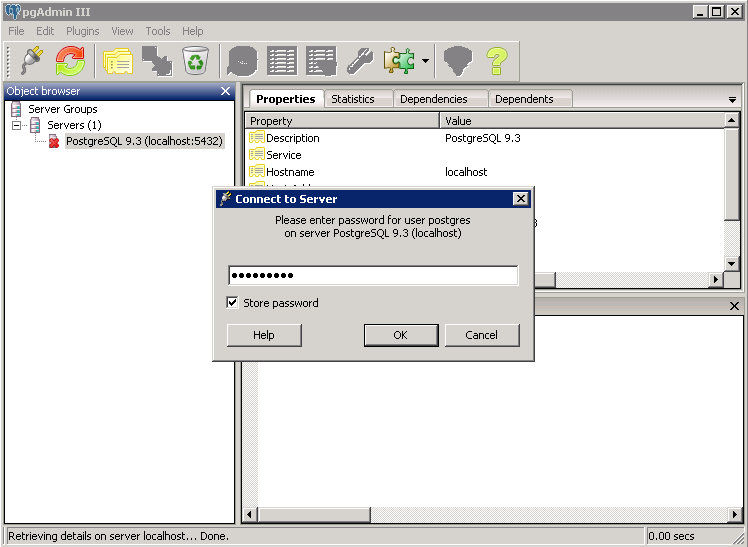
- Finally the database is connected
Create a Custom Database:
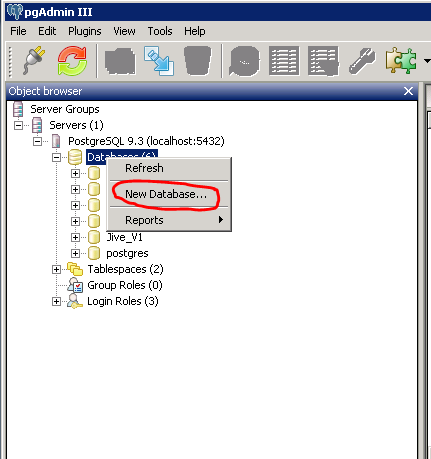
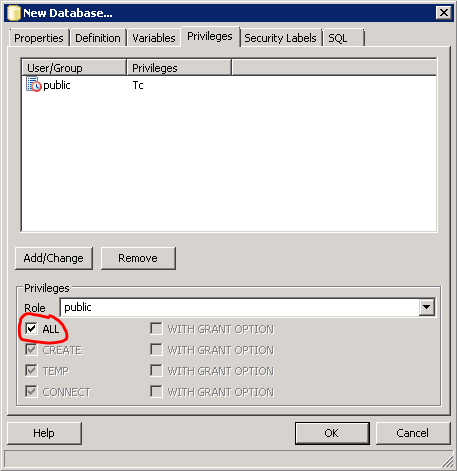
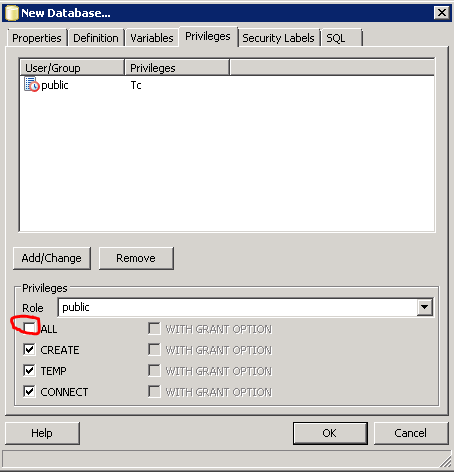
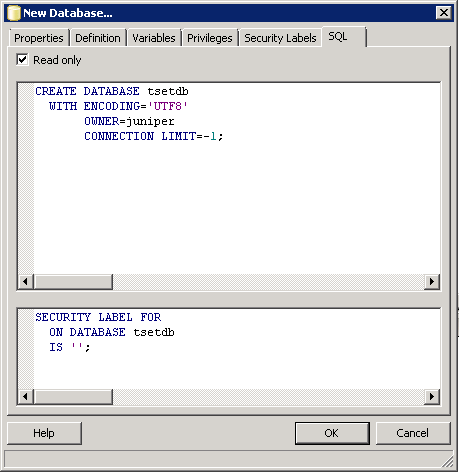
- Open pgAdminIII and follow the screenshots.

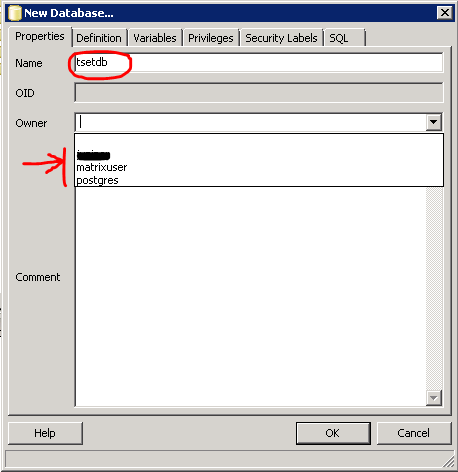
- Select the owner and provide a name of the database

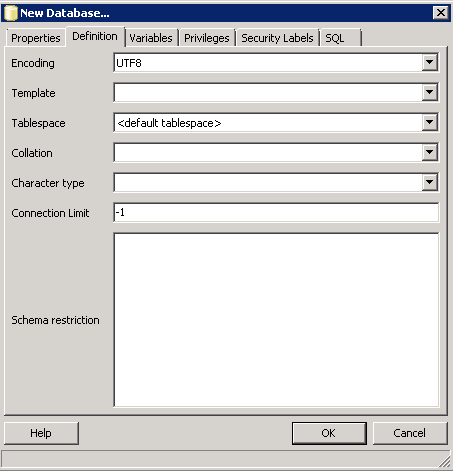
- Keep the database definition default

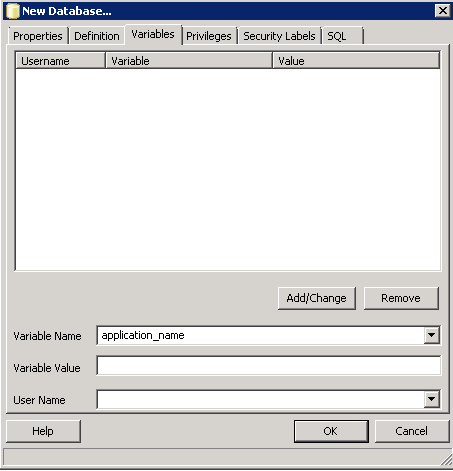
- Keep the Variable parameters also default

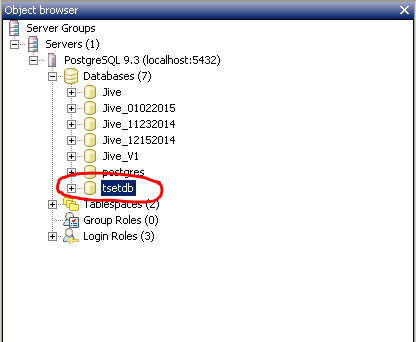
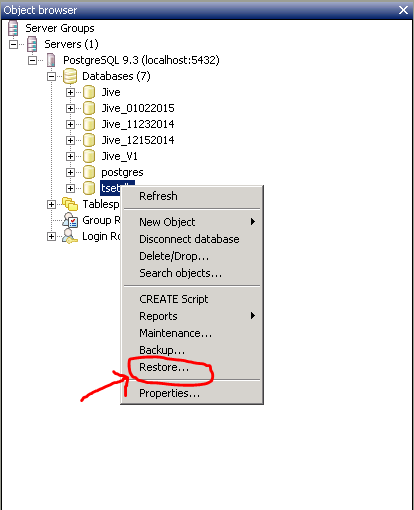
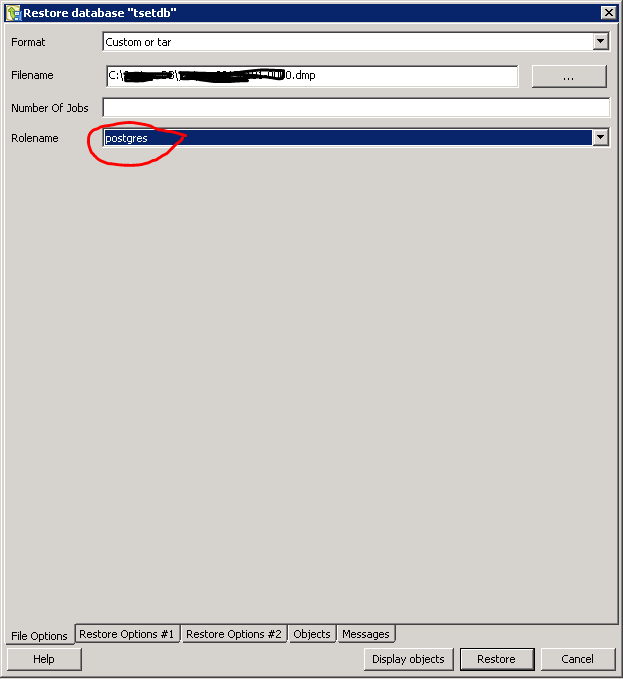
Restore a Database:


