
None of the business today is restricted to a single region or a language. Your business is sure to outgrow across the globe. Hence, a multilingual support gives your portal an instant recognition among people speaking in different language irrespective of their geographic region.
With the use of single portal in Dynamics 365, one can easily display content in multiple languages and reach out to global customers. Moreover, the powerful portal capabilities of Dynamics 365 allow to view or translate in to multiple languages while maintaining the single hierarchy.
If you are currently working on a project that wants to enable multi-language support, this how-to guide can be good to start off.
Follow the instructions covered below to enable multiple languages for the portal.
Multilingual Portal
Step 1: Installing the Language Pack in Portal
- For enabling the pack, we will require the System Administrator security role or equivalent privileges in Dynamic CRM for a Language provision.
- Click on the Dynamic CRM → Settings → Administration.
- Select Languages from Language Settings. Here you will find the Language Pack installed in Microsoft Dynamics 365 deployment, with a check box to the left of each listed Language Pack.
- For every Language pack there is a provision for check and uncheck boxes for the languages that we want in our portal.
- Now click on the Apply
- Next click on the OK button for any of the confirmation messages that appear.
- Click on close option to close the dialog box.
This will work for all the organizations where we need to apply the multiple language packs.
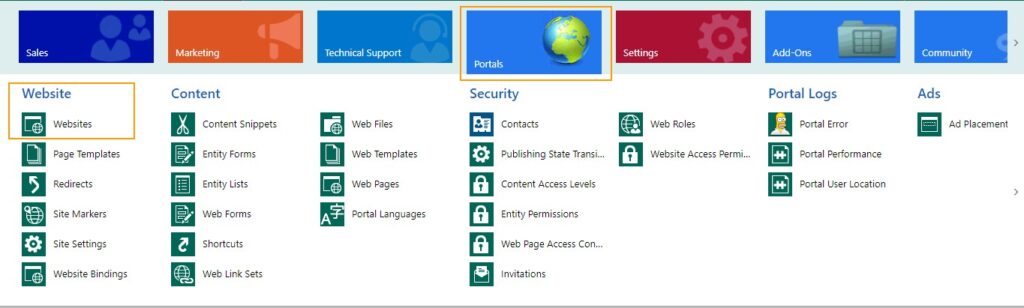
Step 2: Open the Websites
In this step, open the websites by stepping down this flow from Dynamic CRM → Portals > Website > Websites.
Step 3: Selecting the Website
Moving further, select the website for which we need to add the language support.

As shown above, select the Customer Self-Service website for reference.
Step 4: Look for Supported Language
Find the Supported Languages section under the General tab, and then select the “+” button.

Step 5: Choose the Language of Your Choice
After clicking on the “+” button, we will be asked to add the languages (such as Chinese, English, Japanese, French etc.) on the form which we would like to add for our portal.
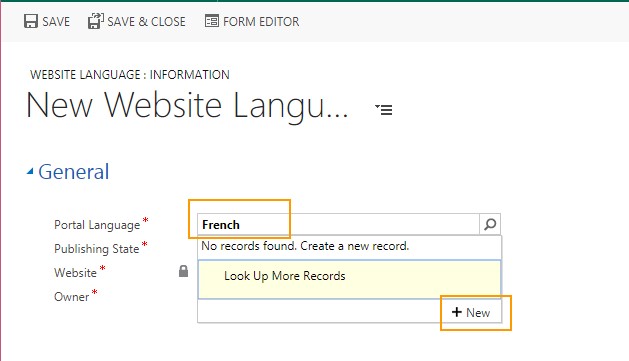
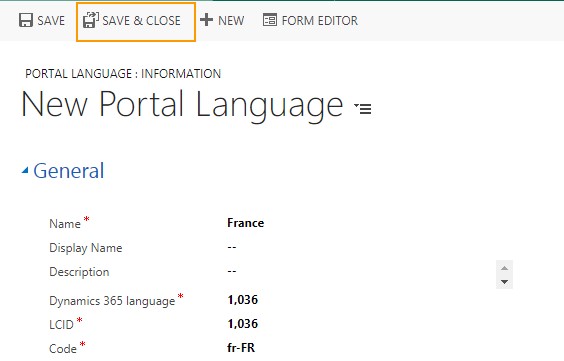
Click on Save and Close, this will add the new language in the portal.
Supported Languages
The table below displays some of the popular languages which are supported in Dynamics 365. The complete list of the languages can be viewed by going to Portals > Content > Portal Languages.
We can also change the display name for the language, once the language has been selected.
Below are the few languages name supported in the CRM Portal.
| Name | Language Code | LCID | Display Name |
| Chinese – China | zh-CN | 2052 | 中文(中国) |
| Chinese – Traditional | zh-TW | 1028 | 中文(台灣) |
| Japanese – Japan | ja-JP | 1041 | 日本語 |
| French – France | fr-FR | 1036 | François |
Creating Content in Multiple Languages
For enabling the content in multiple languages, we are going to follow the steps below:
- First, sign in to Dynamics 365 for Customer Engagement.
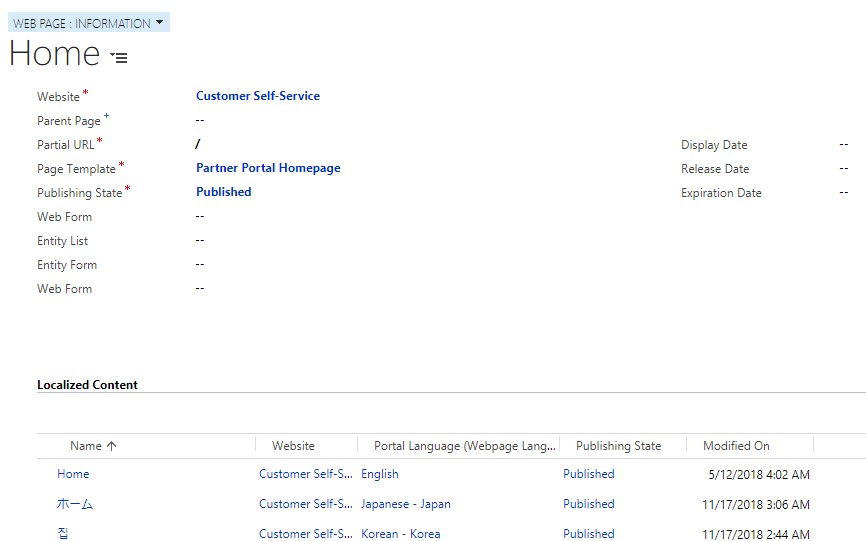
- For each webpage available in the portal, there will be a parent version of the page and child version of the page for each language. To view the complete list of the content we need to Go to Portals> Web Pages.
- We can also add the new localizations on the page, by scrolling down to Localized Content.
- Select the +button on the rightmost side to create a lookup for the localized version.
- We can install different language packs for the different CRM languages which we would like to support in our portal.
Steps for Exporting the Translations from CRM
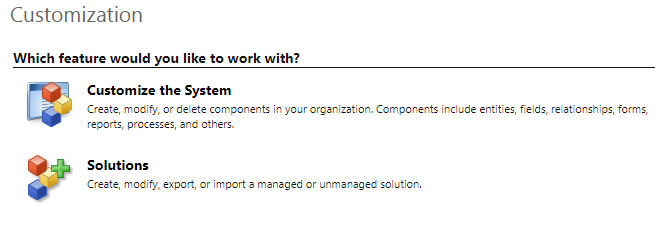
- Go to Settings → Customizations → Customize the System
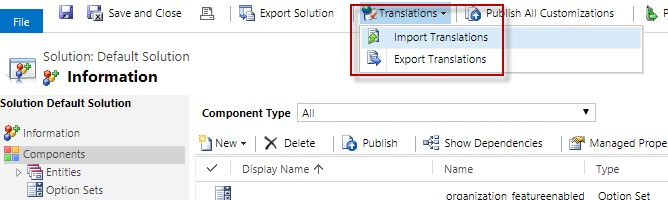
- Click on Export Translations
- Click on OK
- Click on Save as

- Select a location to save the file and the select the Save

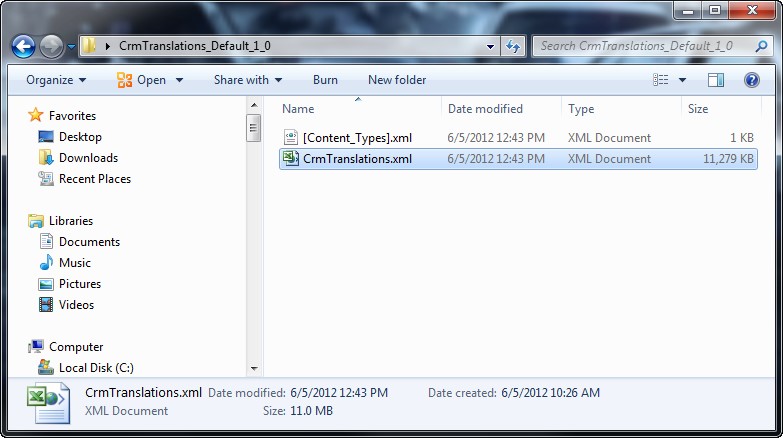
- Need to wait till the download completes and once the download completes select the option open the folder containing the file.

- Extract the contents from the translations archive
Steps to Translate Labels
- For translating the labels, open the xmlin Microsoft Excel
- Translate all the label available in the translation file
- The excel file contains a column for each language available in the organizations along with the customizations for each column. Change the name of the labels from the base language and specify the other name for the language in the appropriate column identified by its Microsoft Locale ID Values.
- Here in excel file we have shown the example for the code: 1036 which is the language code for the Chinese language.
- After translating the labels save the document, re-archive the newly saved xml file, and [Content_Types].xml file into a new compressed .zip file.

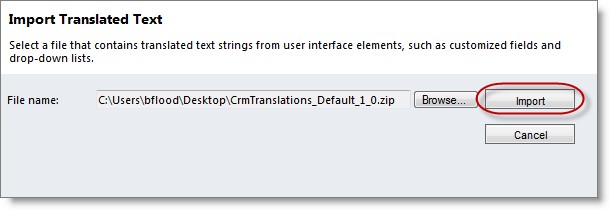
Steps to Import Translations
- Click on Import Translations

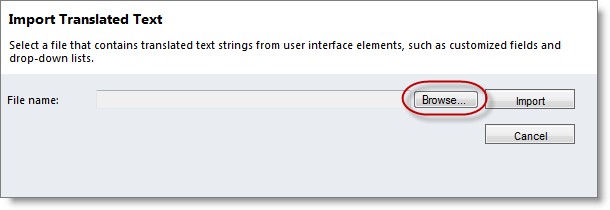
- Now import the zip file in the CRM, Click on Browse > Select the archived .zip file, which was created in the previous step.
- Click Import
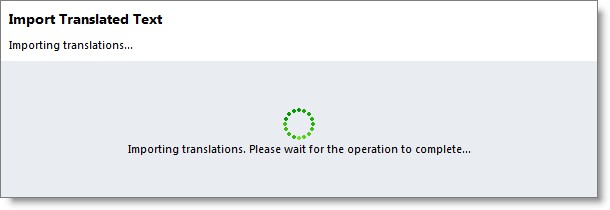
- Wait for the import to complete
- Click on Close button
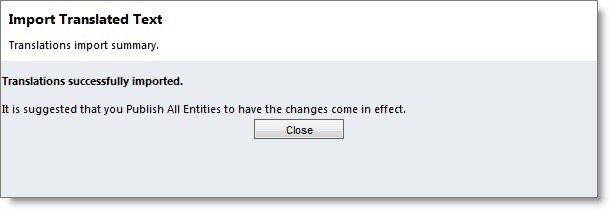
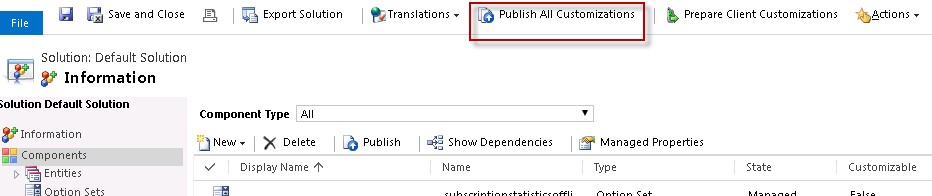
- Click on Publish All Customizations
Navigation in Multiple Languages
Here will be defining how the navigation can be set to the different languages, for that first will be navigating to:
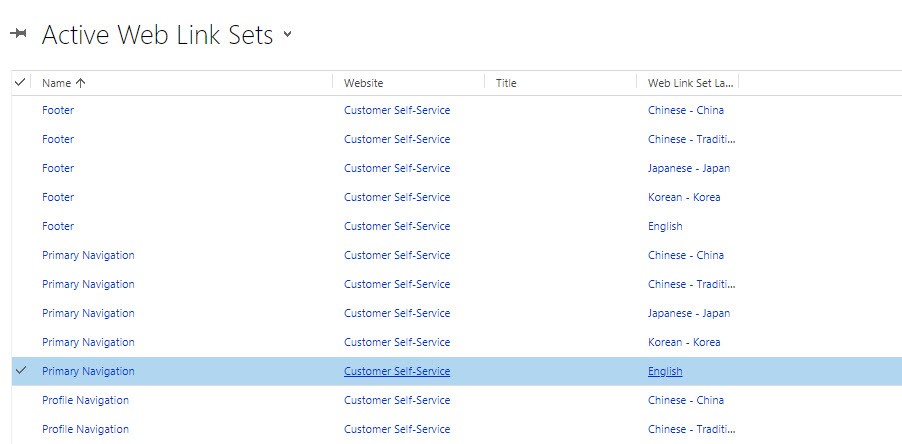
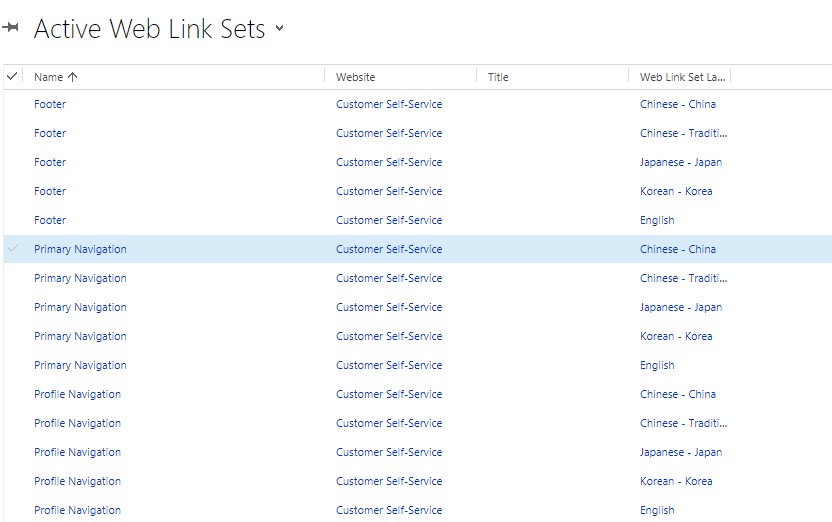
- Go to Portals> Web Link Sets to see a list of Navigation Menu. For each Web Link Set, there will be a language version of navigation as primary, footer etc. as per language selected for the portal.
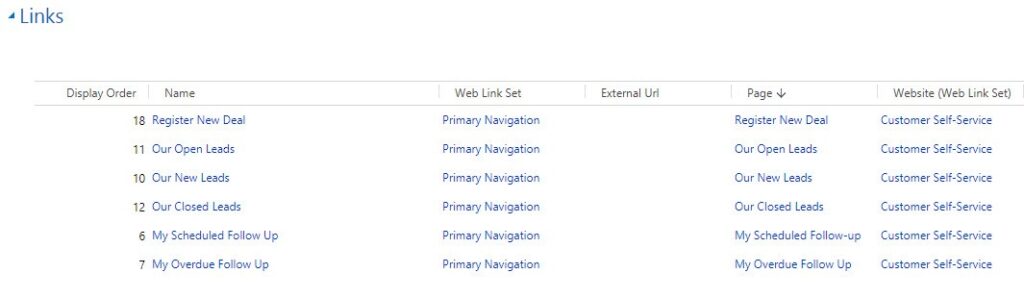
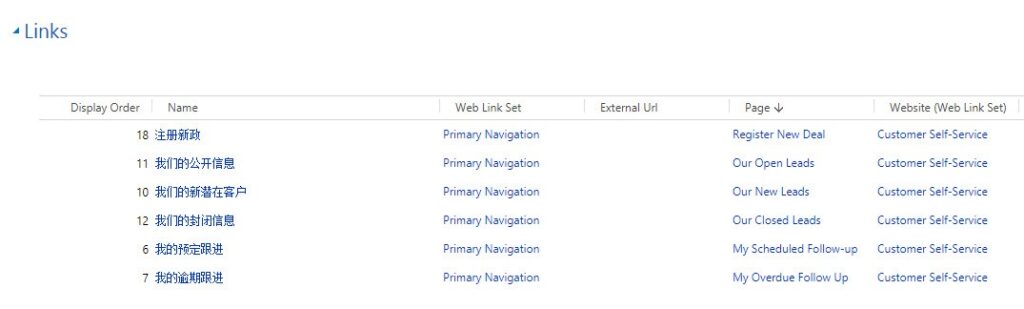
For Example: Will illustrate how the Primary Navigation can be viewed in the different languages.
For English:
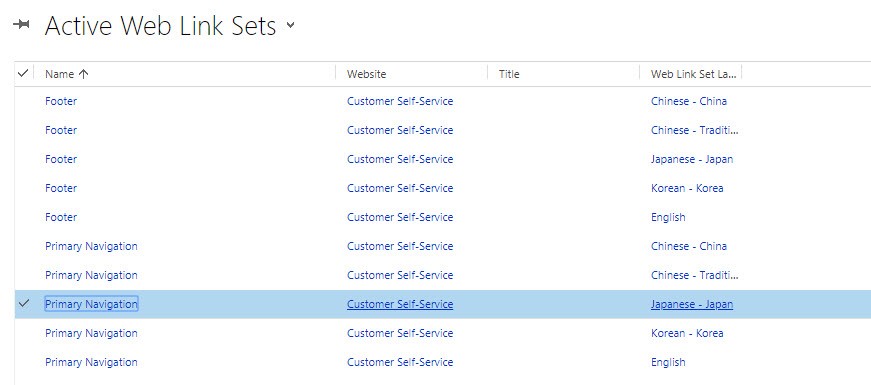
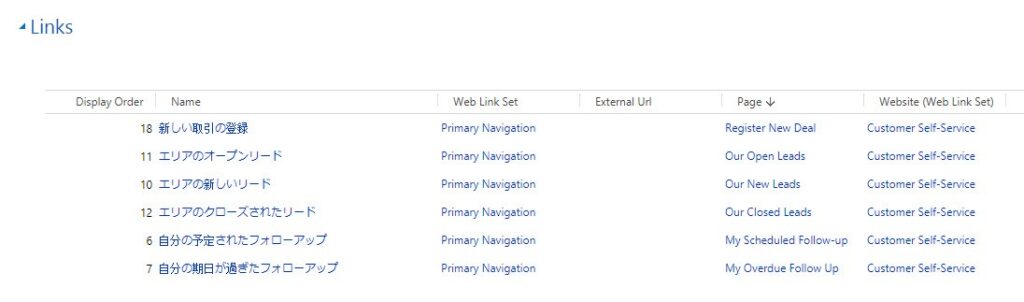
For Japanese:
For Chinese
Entity List in Multiple Languages
We can also create the Entity List in multiple languages. For that we need to Go to Portals > Entity Lists to see a list of View Name & Display Name (Page Titles)
As p
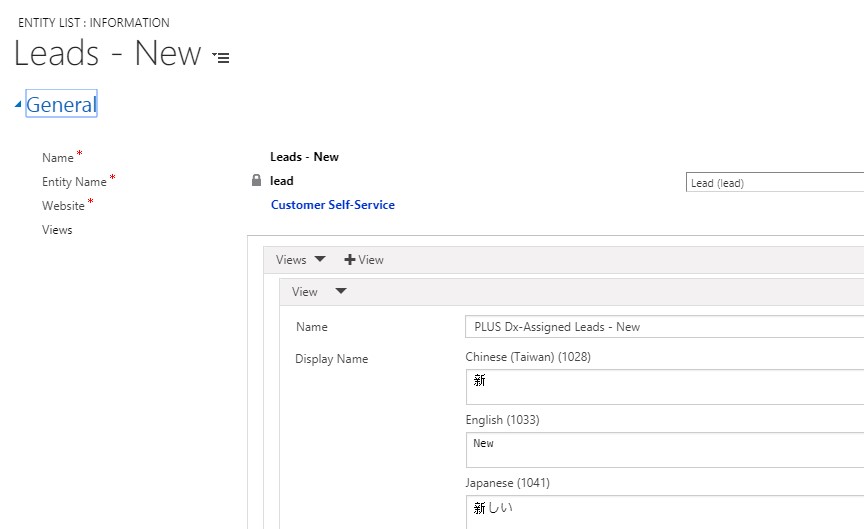
er displayed in figure “Names” of views can be change for details pages as per languages added to list.
Conclusion
If you follow this guide, you can easily configure the multi-language supportive portal within Dynamics 365. To learn more about the roadmap for Dynamics 365 Portal.

Very good post to start with if you are new to multilanguage capabilities of portal.
Great Article, How does this impact with the latest changes for Dynamics 365? We are looking at expanding our work and it would be great to get a better handle on this
Amazing post! Thanks for sharing this useful information.