

You are using Microsoft Dynamics CRM. In this blog I will discuss about how you can add Client Side Scripting using JavaScript for the purpose of programming your Dynamic CRM. You can use such client side scripting to implement your custom field validation. For example, you want to validate mobile # to check whether it is 10 digit numbers. In this case instead of setting rule which is a server side validation where a server trip is required for the process to validate, you can use a pure client side scripting.
Procedure
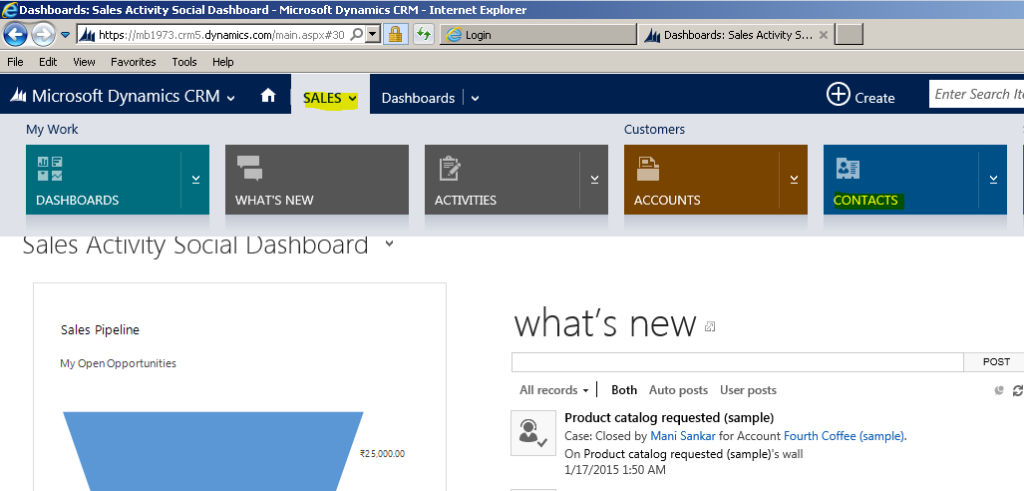
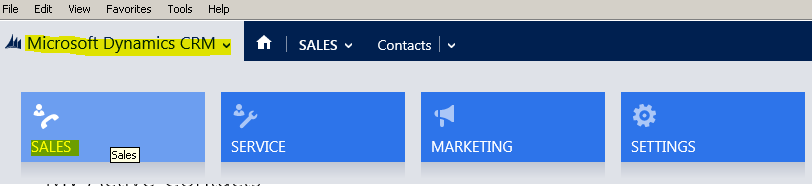
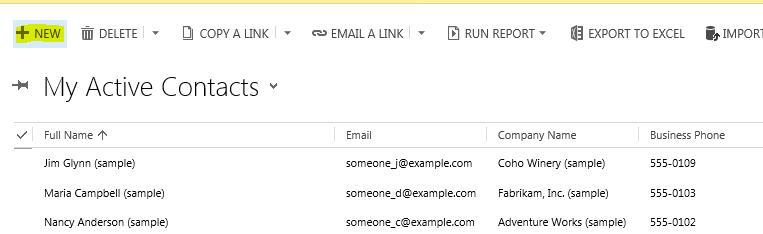
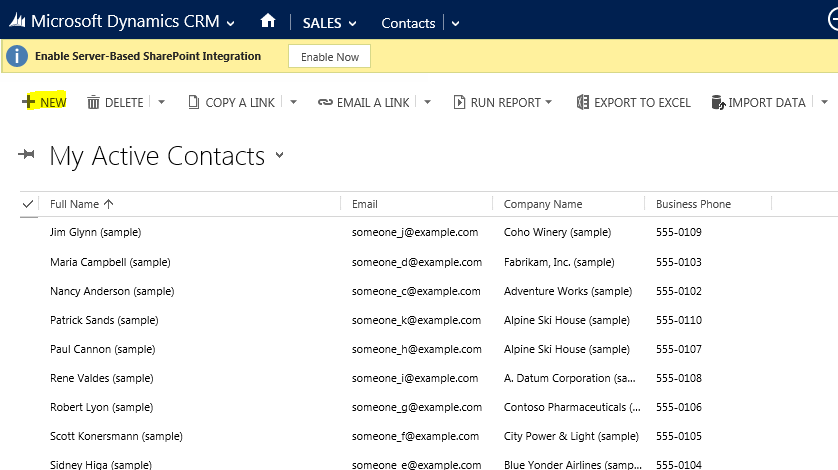
Login in to your Microsoft Dynamics CRM Portal. Select ‘SALES’ and click on ‘CONTACTS’.
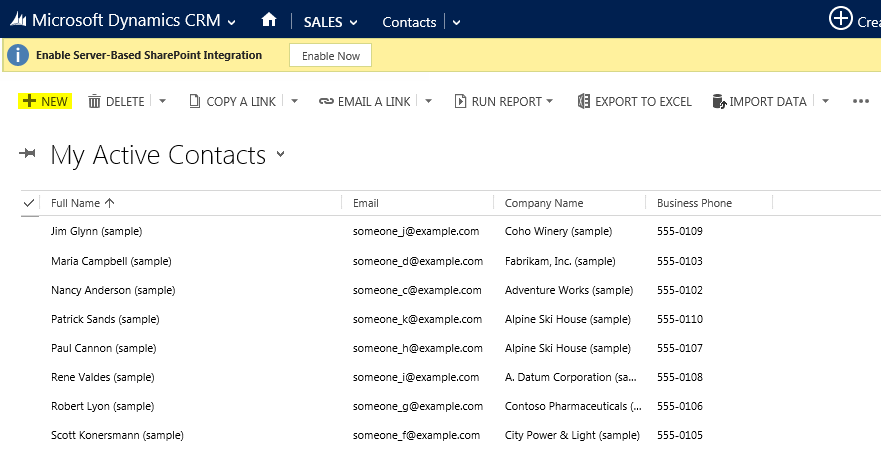
Clicking on ‘CONTACTS’ will give the following screen, then select the ‘+NEW’ option.
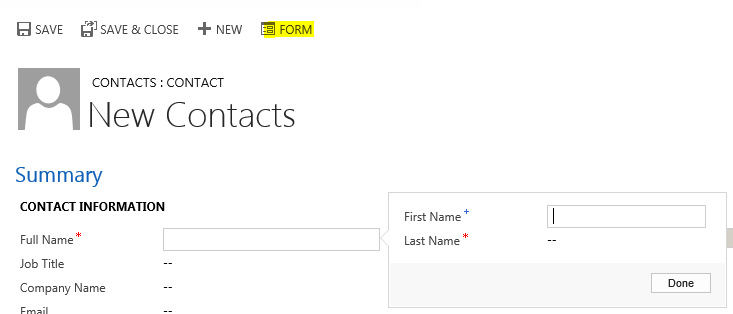
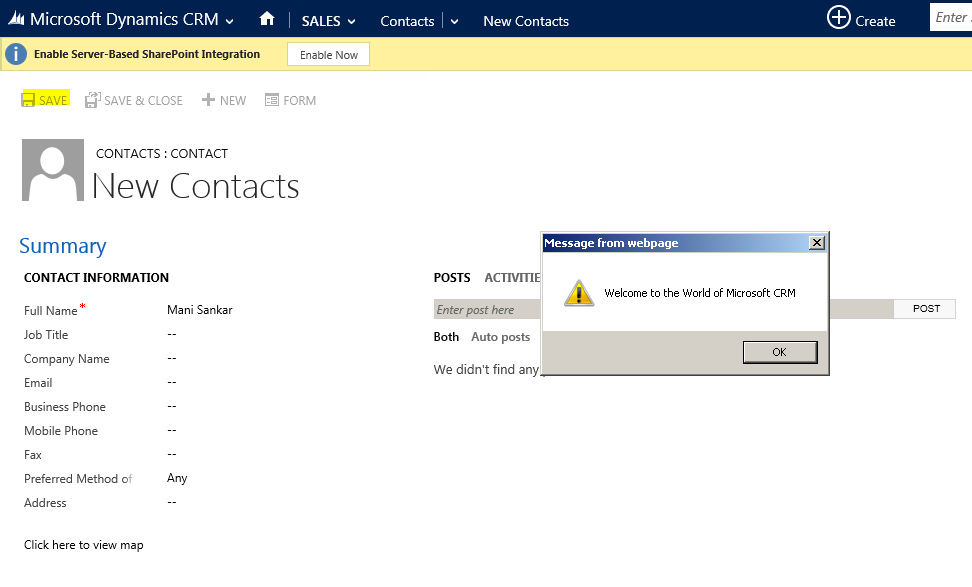
Clicking on ‘+NEW’ option will get us a form in which we can enter the information of each contact. A pop up JavaScript alert will be shown upon saving of a contact..

Steps to add JavaScript:
Step 1: Select ‘SALES’
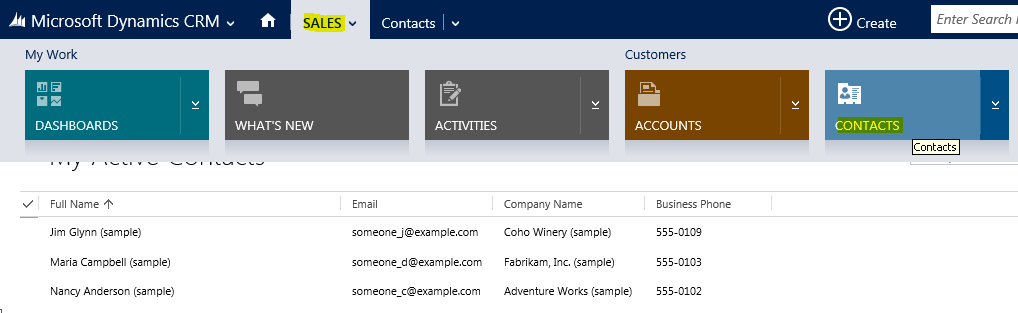
Step 2: Under ‘SALES’ select ‘CONTACTS’
Step 3: Select NEW
Step 4: Select FORM
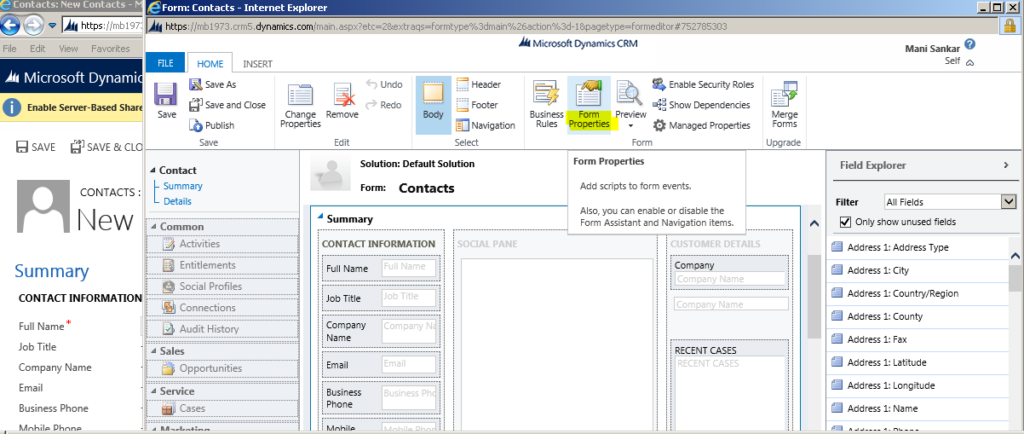
Step 5: Select Form Properties
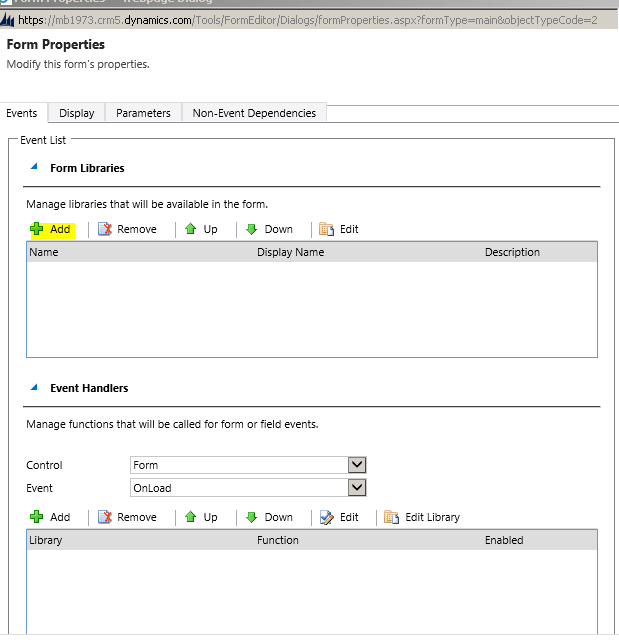
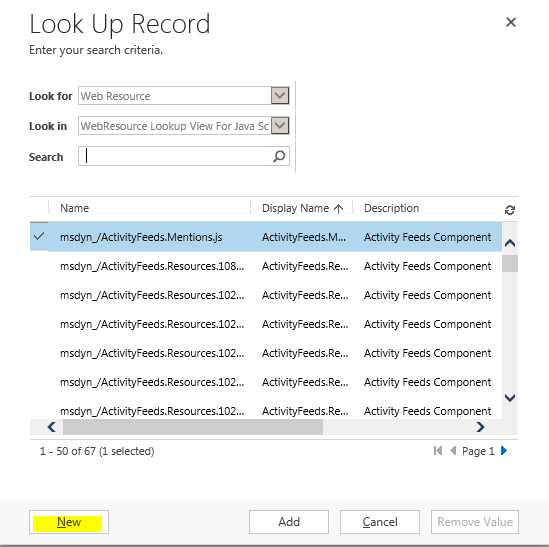
Step 6: Select Add
Step 7: Select New
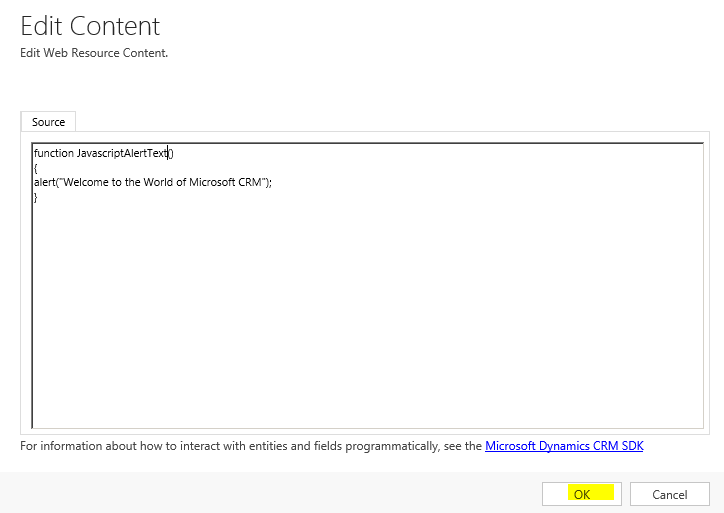
Step 8: Fill the fields and select Text Editor

Step 9: Write the JavaScript in the text window and click ‘OK’
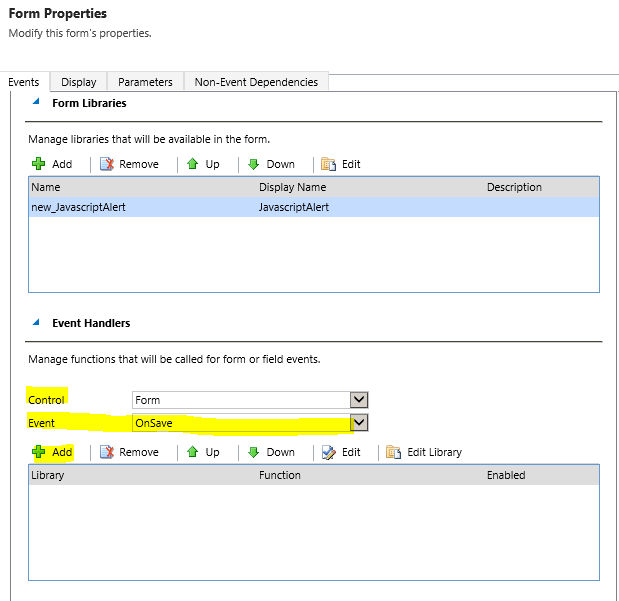
Step 10: Select the Control, Event and click on Add
Step 11: Write the Function Name and click OK
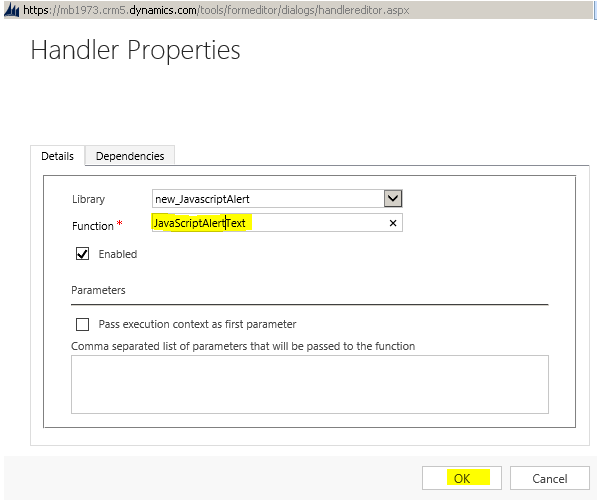
Step 12: Select OK
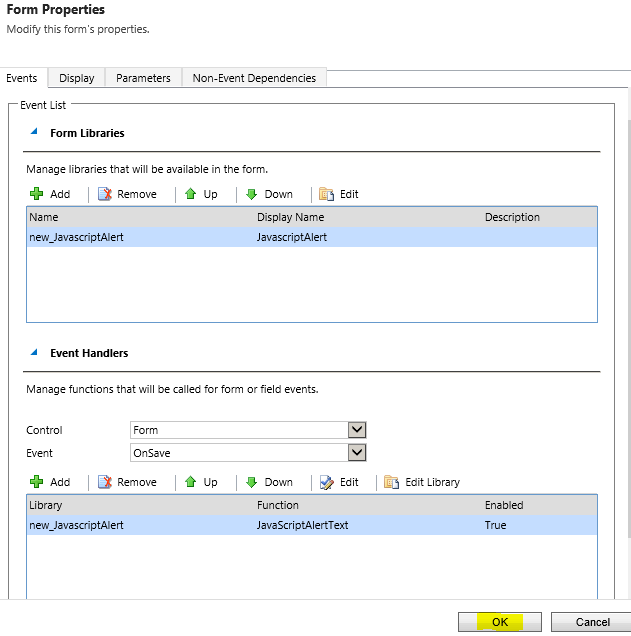
Step 13: Save the form and Publish

Step 14: Goto Sales->Contacts->New as mentioned before
Step 15: Fill the Form and click on Save button and the JavaScript Alert will appear
Conclusion
This is basically a stepping stone of how to incorporate Client side scripting into Microsoft Dynamics CRM. In coming days I will discuss more on Scripting (Server as well as Client side), Plugins etc. into Microsoft CRM.
How to get started with Microsoft Dynamics CRM online
If you have just started using CRM, you can create a 30 days online trial by registering on the site ‘http://www.microsoft.com/en-in/dynamics/crm-free-trial-overview.aspx’.
Looking forward to your feedback and comments below!


Mani, can you also add is it possible to add these script dynamically on form load ?