While customizing a SharePoint site, have you ever felt the need of a better way to upload the assets to a SharePoint folder without using SharePoint Designer or One Drive Synchronization? Well, I did, because I do not feel comfortable working with Share Point Designer and I don’t like One Drive Synchronization either. There are many editors available that have much better support for HTML, CSS and JavaScript. Today I am going to show you how. By the way, the same method can be applied to upload any file to SharePoint Document Library.
There is no rocket science involved in this. It just needs few tools and libraries in your machine and a little bit of knowledge of JavaScript.
I will try to demonstrate the process step by step. Let’s start!
Suppose we are going to customize a SharePoint site. And to do this we need to create and upload some JavaScript, CSS and image files to SharePoint. Ideally we do this by adding the assets to the Master Page Gallery of the site collection, so that these files can be accessible by the entire Site Collection without setting any specific permission.
Obviously we can use SharePoint Designer or we can manually upload these assets to the SharePoint Master Page Gallery but as I mentioned earlier this process can be annoying sometimes. Luckily with the help of modern web development tools and few libraries we can do this elegantly.
Setting the Environment
The very first step is to setup our environment. And this needs to be done only once.
Installing Git
Git is a distributed version control system. Install it from the official site https://git-scm.com/
It gives two things
- Ability to properly version your files in local or remote repository.
- Depending on the operation system, it gives nice command line or GUI tools. We will be using the shell Git Bash that it provides. However, we can use default windows command prompt or other utility like Cmder to run Git commands.
Installing Node.js
Node.js is an open source, cross platform JavaScript runtime environment for executing JavaScript code in server side. Node.js comes with one command line utility called npm (Node Package Manager). Another part of the npm is the online repository where Node.js projects are published. And using the npm command line utility one can download the packages to local machine and use them in development of projects.
To install this download the latest stable build from the official site https://nodejs.org/en/ and follow the instructions.
Here, we will be using only npm the command line utility.
Installing Gulp globally
Gulp is basically a task runner. Gulp itself has very few methods and commands, but using these methods and with the help of node packages we can create powerful tasks. To make the Gulp commands available globally we need to install the gulp node package globally.
To do this follow the instruction given in the official site https://gulpjs.com
Otherwise you can follow these steps
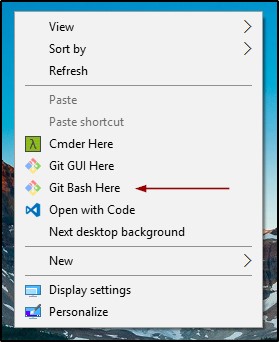
- On windows open Git Bash from context menu or open the Command Prompt / Terminal
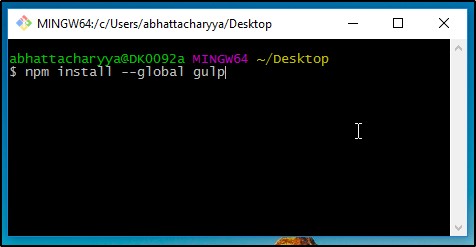
- In the prompt run the following command to install it globally.
npm install –global gulp
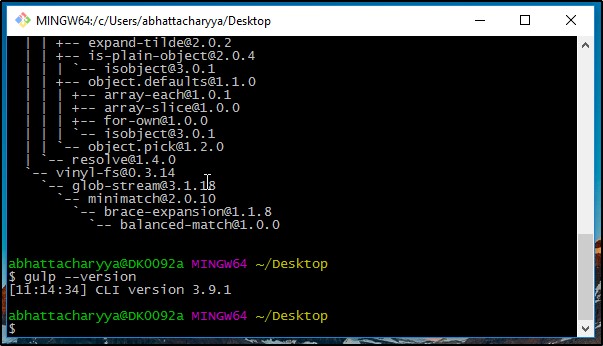
- To check if gulp is installed properly or not run the command below. If everything is OK you should see the version number as shown in the screenshot.
gulp –version
Initialize the source folder
We will need a root folder where we will keep our assets (Image, CSS and JavaScript) and our gulp configuration file.
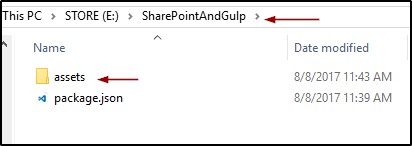
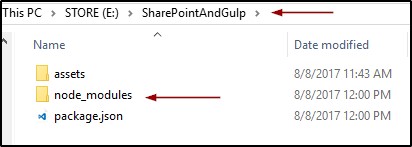
- Create a directory in your workspace. For example, lets say root folder name is “SharePointAndGulp”.
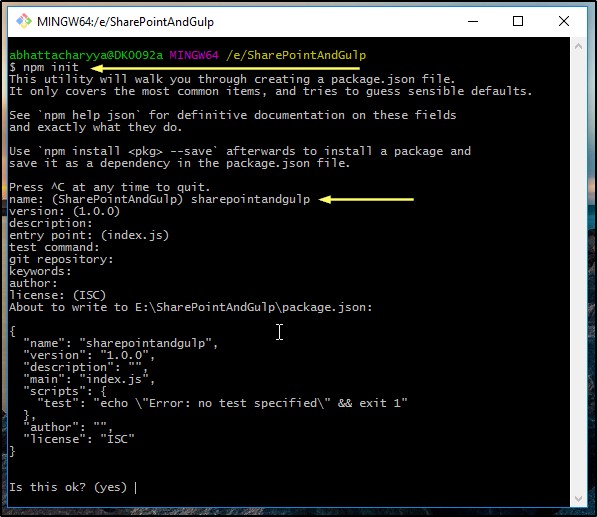
- Go to the folder from command prompt and run the command below. It will ask for inputs but for now choose the defaults by pressing Enter. And at last press Enter again to give your consent to create the json file.
npm init
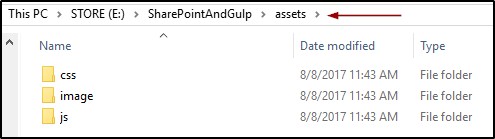
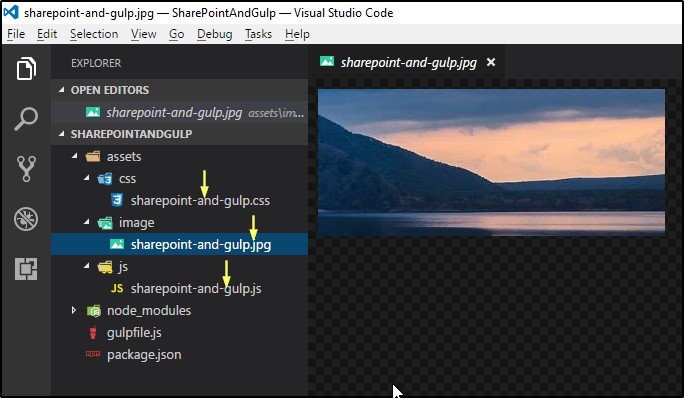
- Create a folder here. We will keep our source files and assets in this. Let’s name it “assets”. The hierarchy of this folder shown below.
Installing required local node packages
We will have to install two node packages for this example. The packages are gulp and gulp-spsave.
So, two points here.
- You must be thinking why to install gulp again locally. The reason is gulp tries to run the gulp configuration file (gulpfile.js) using the local version of gulp. Whereas the global version gives us the gulp command available globally. By the way, the gulp configuration file (gulpfile.js) is where we write our gulp tasks.
- Secondly, though we can write our own code to upload files to SharePoint, there are nice node packages available in the npm repository. I found gulp-spsave very good. You can find the detail and documentation here https://www.npmjs.com/package/gulp-spsave
Navigate to the root folder in command prompt and run the command below.
npm install –save gulp gulp-spsave
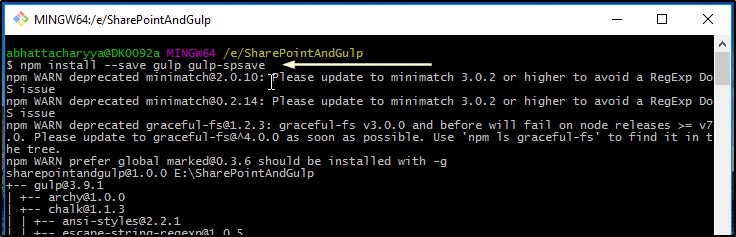
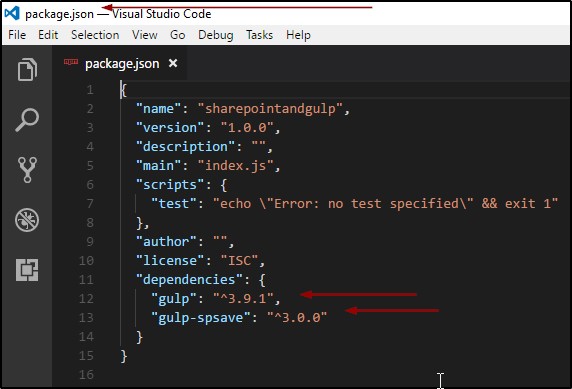
After running this command two things happen.
- One folder named “node_modules” gets created and this folder contains all the packages.
- The –save switch adds the packages to the json file.
Creating the gulp configuration file (gulpfile.js)
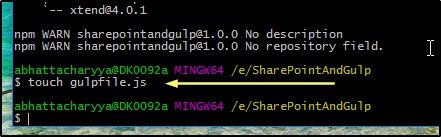
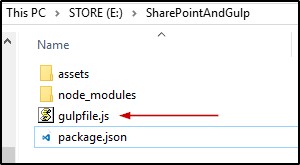
We need a gulp configuration file where we need to write our gulp task. The naming convention of this file is gulpfile.js
So, create a file named gulpfile.js in the root directory.
Writing the task to upload files to SharePoint
We will write a task that will upload all the files from the “assets” folder to SharePoint master page gallery. Let’s say the name of the task is “upload”.
- Open the entire folder in an editor. I prefer Visual Studio Code.
- Open the gulpfile.js
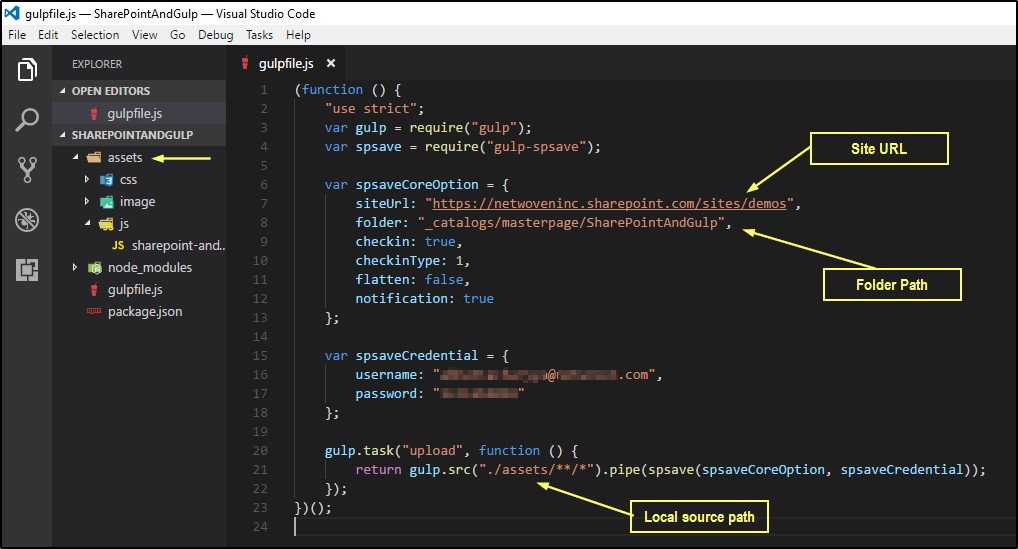
- Paste the code given below. Also see the screenshot to have an idea of the different pieces.
- Change the properties like siteUrl, folder, username and password and save the file.
(function () {
    "use strict";
    var gulp = require("gulp");
    var spsave = require("gulp-spsave");

    var spsaveCoreOption = {
        siteUrl: "https://netwoveninc.sharepoint.com/sites/demos",
        folder: "_catalogs/masterpage/SharePointAndGulp",
        checkin: true,
        checkinType: 1,
        flatten: false,
        notification: true
    };

    var spsaveCredential = {
        username: "**********@****.com",
        password: "*******"
    };

    gulp.task("upload", function () {
        return gulp.src("./assets/**/*").pipe(spsave(spsaveCoreOption, spsaveCredential));
    });
})();
The detail documentation of the package gulp-spsave can be found here https://www.npmjs.com/package/gulp-spsave
Running the gulp task
Before running the task, we need to add some files in the assets folder. If no files fund then it will not upload anything. So, let’s create few files and add some contents.
Next follow these steps.
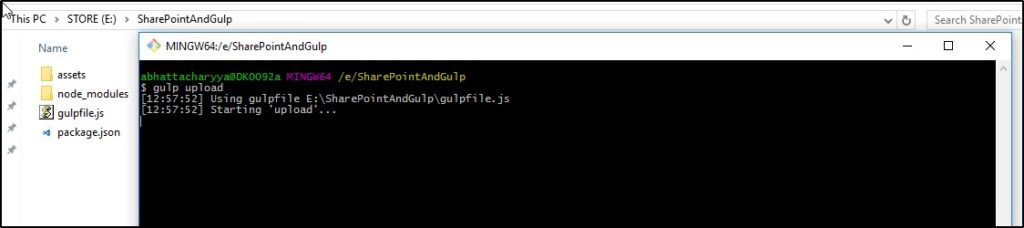
- Open command prompt/ Git Bash again and go to the root directory and run the command below. The progress can be seen in the console. Once uploaded notification will also appear.
gulp upload

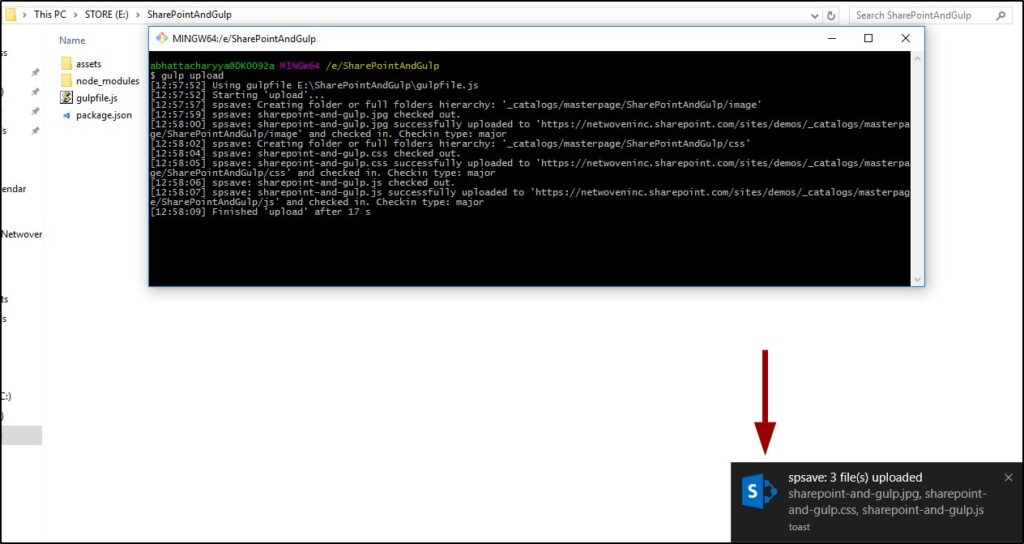
- To verify go to the SharePoint site’s master page gallery and check the folder.
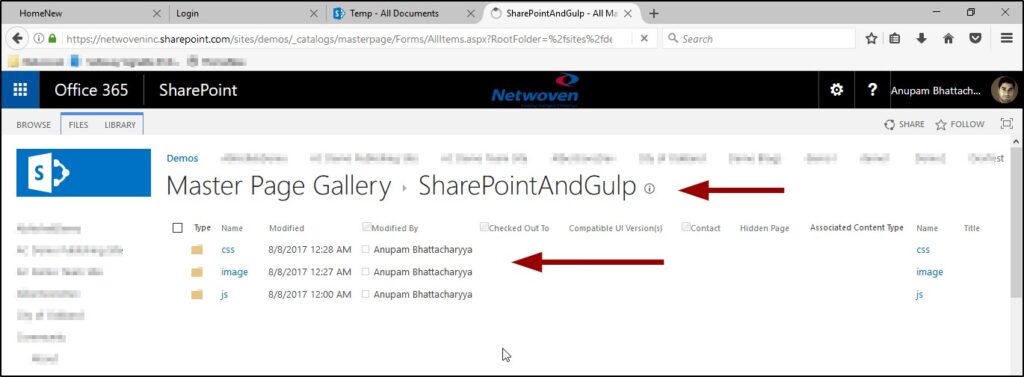
Conclusion
So, we have successfully uploaded the files with the help of node.js, npm, gulp and a node.js package called gulp-spsave.
We can do much more than this using gulp. We can do minification of code, bundling of code, create dynamic file and all kind of things that is needed in a development workflow.
If we are not into development we can still use this method to upload our files to SharePoint Document Library. The files we need to upload do not need to be in the same folder as in the example. We can setup the and create the task at one place and by giving the physical path we can still upload files.

We can even create a gulp task that watches for any changes in file and then upload to SharePoint if there is any change.
So, next time when you need to upload some files to SharePoint and if you need update the content of those files locally and then upload them frequently then you can have this setup in your machine.


Congratulations on the article, it is very didactic but I need help. When I run the code, I get the following message:
AADSTS50034: The user account {EmailHidden} does not exist in the reconditec.com.br directory. To sign into this application, the account must be added to the directory.
Can you help me? Thank you!